前一篇讲了XMPP通信,还有一种比它还早的协议IRC(Internet Relay Chat),是一种简单的文本聊天协议,支持一对一聊天和群聊(频道)。通常IRC聊天只需要昵称而不需要密码(也可以使用密码),这与XMML不同,使得它可以作为公开的聊天频道,比如游戏直播平台Twitch就使用类似的功能来实现聊天。IRC同样有许多服务端,比如InspIRCd和客户端软件,比如Irssi,也可以直接连接公开的IRC服务器,比如Freenode。事实上IRC协议非常简单,只要能对相应的命令作出响应就可以在各个客户端之间通信,因此有许多不同编程语言的服务端/客户端实现。Oragono便是IRC 服务器的Golang实现,支持IRCv3,支持SASL/LDAP认证,支持服务端保存消息历史记录。
Oragono运行很简单,克隆代码,编辑配置文件就可以了
➜  oragono24 ls
CHANGELOG.md     README           default.yaml     docs             languages        oragono          oragono.motd     traditional.yaml
➜  oragono24 cp default.yaml ircd.yaml
➜  oragono24 ./oragono mkcerts
2020/11/11 12:01:04 making self-signed certificates
2020/11/11 12:01:04  making cert for :6697 listener
2020/11/11 12:01:04   Certificate created at fullchain.pem : privkey.pem
➜  oragono24 ls
CHANGELOG.md     README           default.yaml     docs             fullchain.pem    ircd.yaml        languages        oragono          oragono.motd     privkey.pem      traditional.yaml
➜  oragono24 ./oragono run
2020-11-13T03:09:29.320Z : info  : server     : oragono-2.4.0 starting
2020-11-13T03:09:29.320Z : info  : server     : Using config file : ircd.yaml
2020-11-13T03:09:29.320Z : info  : server     : Using datastore : ircd.db
2020-11-13T03:09:29.344Z : info  : server     : Proxied IPs will be accepted from : localhost
2020-11-13T03:09:29.345Z : info  : listeners  : now listening on [::1]:6667, tls=false, tlsproxy=false, tor=false, websocket=false.
2020-11-13T03:09:29.345Z : info  : listeners  : now listening on :6697, tls=true, tlsproxy=false, tor=false, websocket=false.
2020-11-13T03:09:29.345Z : info  : listeners  : now listening on :8097, tls=true, tlsproxy=false, tor=false, websocket=true.
2020-11-13T03:09:29.345Z : info  : listeners  : now listening on 127.0.0.1:6667, tls=false, tlsproxy=false, tor=false, websocket=false.
2020-11-13T03:09:29.345Z : info  : server     : Server running
2020-11-13T03:09:38.386Z : info  : connect-ip : Client connecting: real IP 192.168.33.1, proxied IP <nil>
2020-11-13T03:09:38.439Z : info  : accounts   : client : * : logged into account : kiwi-n30
2020-11-13T03:09:38.442Z : info  : connect    : Client connected [kiwi-n30] [u:~u] [r:https://kiwiirc.com/]
2020-11-13T03:09:40.955Z : info  : connect-ip : Client connecting: real IP 192.168.33.1, proxied IP <nil>
2020-11-13T03:09:40.963Z : info  : connect    : Client connected [kiwi-n28] [u:~u] [r:https://kiwiirc.com/]
2020-11-13T03:09:56.198Z : info  : connect-ip : Client connecting: real IP 192.168.33.1, proxied IP <nil>
2020-11-13T03:09:56.209Z : info  : connect    : Client connected [kiwi-n29] [u:~u] [r:https://kiwiirc.com/]
编辑ircd.yml,设置管理密码,启用一下WebSocket,保存历史消息到MySQL。opers/admin管理密码在认证管理员的时候使用的,可以使用命令oragono genpasswd生成。ircd.db用来保存注册用户,使用的并不是SQLite,而是Golang实现的一个嵌入式的内存Key/Value存储BuntDB,可以持久化到硬盘。
# network configuration
network:
    # name of the network
    name: OragonoTest

# server configuration
server:
    # server name
    name: oragono.test

    # addresses to listen on
    listeners:
        # The standard plaintext port for IRC is 6667. Allowing plaintext over the
        # public Internet poses serious security and privacy issues. Accordingly,
        # we recommend using plaintext only on local (loopback) interfaces:
        "127.0.0.1:6667": # (loopback ipv4, localhost-only)
        "[::1]:6667":     # (loopback ipv6, localhost-only)
        # If you need to serve plaintext on public interfaces, comment out the above
        # two lines and uncomment the line below (which listens on all interfaces):
        # ":6667":
        # Alternately, if you have a TLS certificate issued by a recognized CA,
        # you can configure port 6667 as an STS-only listener that only serves
        # "redirects" to the TLS port, but doesn't allow chat. See the manual
        # for details.

        # The standard SSL/TLS port for IRC is 6697. This will listen on all interfaces:
        ":6697":
            tls:
                cert: fullchain.pem
                key: privkey.pem
                # 'proxy' should typically be false. It's only for Kubernetes-style load
                # balancing that does not terminate TLS, but sends an initial PROXY line
                # in plaintext.
                proxy: false

        # Example of a Unix domain socket for proxying:
        # "/tmp/oragono_sock":

        # Example of a Tor listener: any connection that comes in on this listener will
        # be considered a Tor connection. It is strongly recommended that this listener
        # *not* be on a public interface --- it should be on 127.0.0.0/8 or unix domain:
        # "/hidden_service_sockets/oragono_tor_sock":
        #     tor: true

        # Example of a WebSocket listener:
        ":8097":
            websocket: true
            tls:
                cert: fullchain.pem
                key: privkey.pem
# ircd operators
opers:
    # operator named 'admin'; log in with /OPER admin [password]
    admin:
        # which capabilities this oper has access to
        class: "server-admin"

        # custom whois line
        whois-line: is a server admin

        # custom hostname
        vhost: "staff"

        # normally, operator status is visible to unprivileged users in WHO and WHOIS
        # responses. this can be disabled with 'hidden'. ('hidden' also causes the
        # 'vhost' line above to be ignored.)
        hidden: false

        # modes are modes to auto-set upon opering-up. uncomment this to automatically
        # enable snomasks ("server notification masks" that alert you to server events;
        # see `/quote help snomasks` while opered-up for more information):
        #modes: +is acjknoqtuxv

        # operators can be authenticated either by password (with the /OPER command),
        # or by certificate fingerprint, or both. if a password hash is set, then a
        # password is required to oper up (e.g., /OPER dan mypassword). to generate
        # the hash, use `oragono genpasswd`.
        password: "$2a$04$I2Yhr7UF4p3iyEZcKTPJgukLA9mm00B1wQgicJvGZP/gf0u0tbQQy"
# datastore configuration
datastore:
    # path to the datastore
    path: ircd.db

    # if the database schema requires an upgrade, `autoupgrade` will attempt to
    # perform it automatically on startup. the database will be backed
    # up, and if the upgrade fails, the original database will be restored.
    autoupgrade: true

    # connection information for MySQL (currently only used for persistent history):
    mysql:
        enabled: true
        host: "127.0.0.1"
        port: 3306
        # if socket-path is set, it will be used instead of host:port
        #socket-path: "/var/run/mysqld/mysqld.sock"
        user: "root"
        password: "root"
        history-database: "oragono_history"
        timeout: 30s
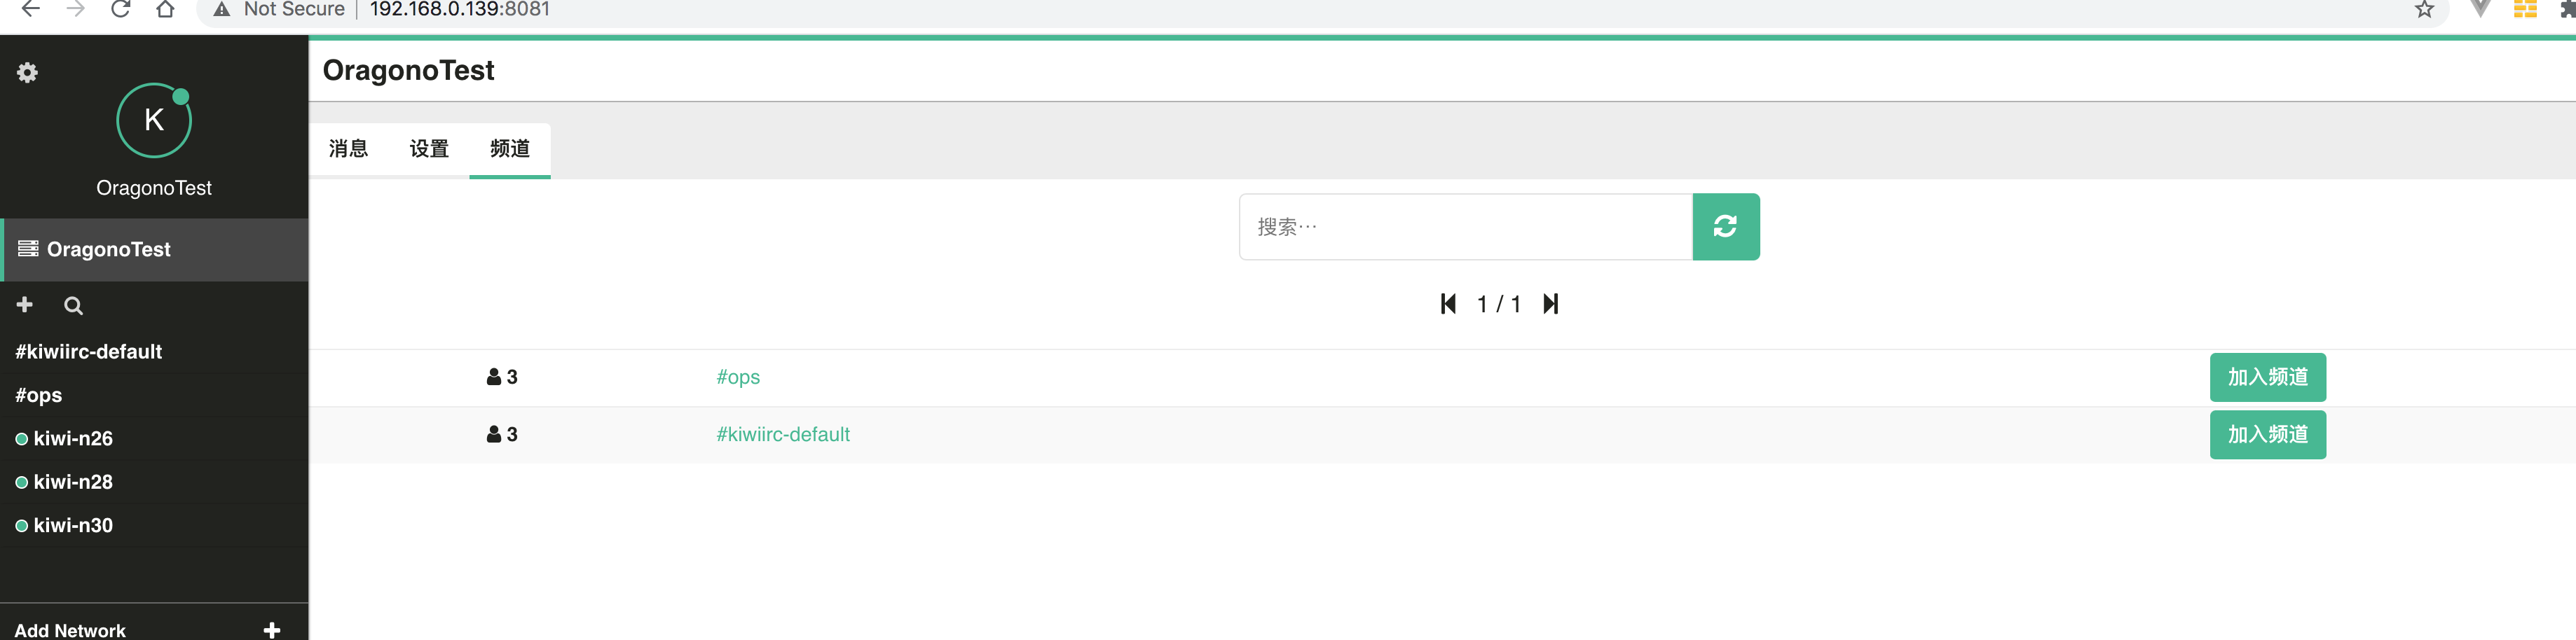
IRC服务端设置好了,使用客户端连上去就可以聊天了。IRC协议类似HTTP协议,服务器地址类似irc://irc.freenode.net,但是也可以使用web来连接,前面配置了监听来自8097端口的websocket请求。这里使用web的IRC客户端Kiwi IRC,这是Vue实现的一个web客户端,各个组件之间通过触发/订阅Vue实例状态/事件变化进行通信,支持自定义组件/中间件,这也是Freenode使用的客户端。Kiwiirc主要聚焦连接和消息的处理,比如websocket连接/发送/监听,消息的格式化/通知/声音/状态。它能够连接websocket的IRC服务器,甚至还提供在线生成器,只需要添加websocket url就好了
{
    "windowTitle": "Kiwi IRC with Oragono Test",
    "startupScreen": "welcome",
    "kiwiServer": "http://oragono.test",
    "restricted": false,
    "theme": "Default",
    "themes": [
        { "name": "Default", "url": "static/themes/default" },
        { "name": "Dark", "url": "static/themes/dark" },
        { "name": "Coffee", "url": "static/themes/coffee" },
        { "name": "GrayFox", "url": "static/themes/grayfox" },
        { "name": "Nightswatch", "url": "static/themes/nightswatch" },
        { "name": "Osprey", "url": "static/themes/osprey" },
        { "name": "Radioactive", "url": "static/themes/radioactive" },
        { "name": "Sky", "url": "static/themes/sky" },
        { "name": "Elite", "url": "static/themes/elite" }
    ],
    "startupOptions" : {
        "websocket": "wss://127.0.0.1:8097",
        "channel": "#kiwiirc-default",
        "nick": "kiwi-n?"
    },
    "embedly": {
        "key": ""
    },
    "plugins": [
        { "name": "customise", "url": "static/plugins/customise.html" }
    ]
}
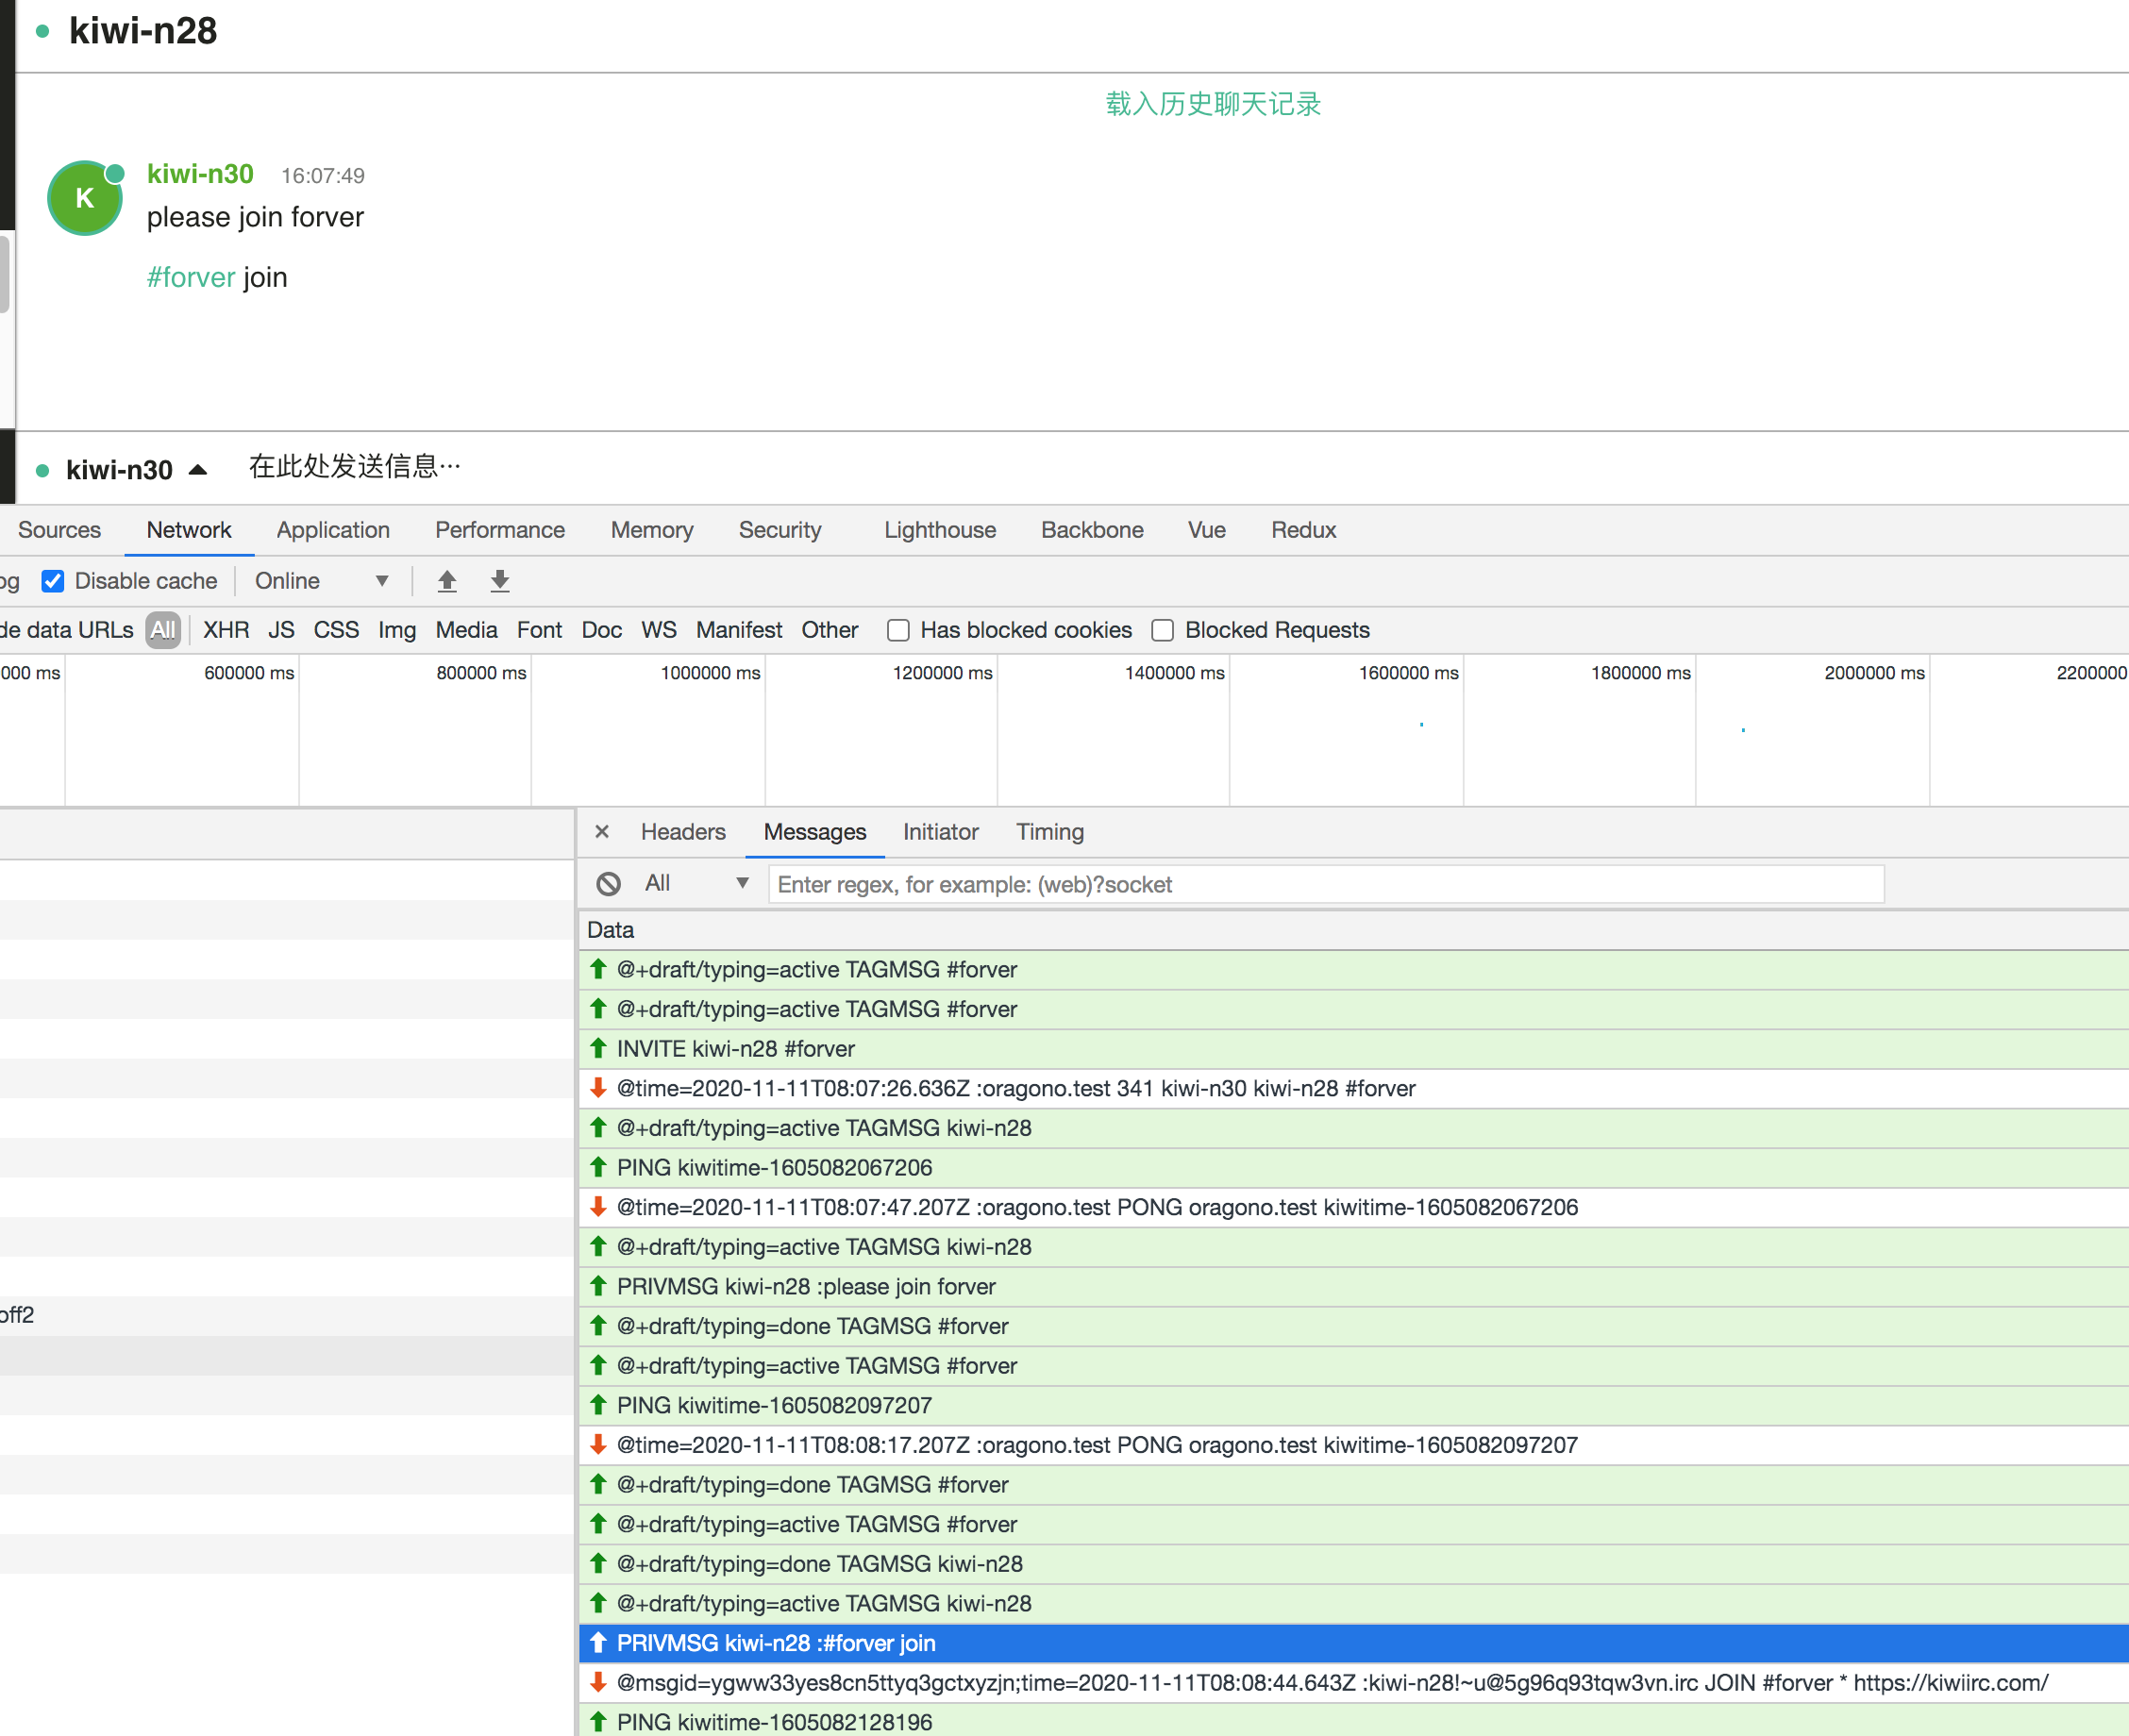
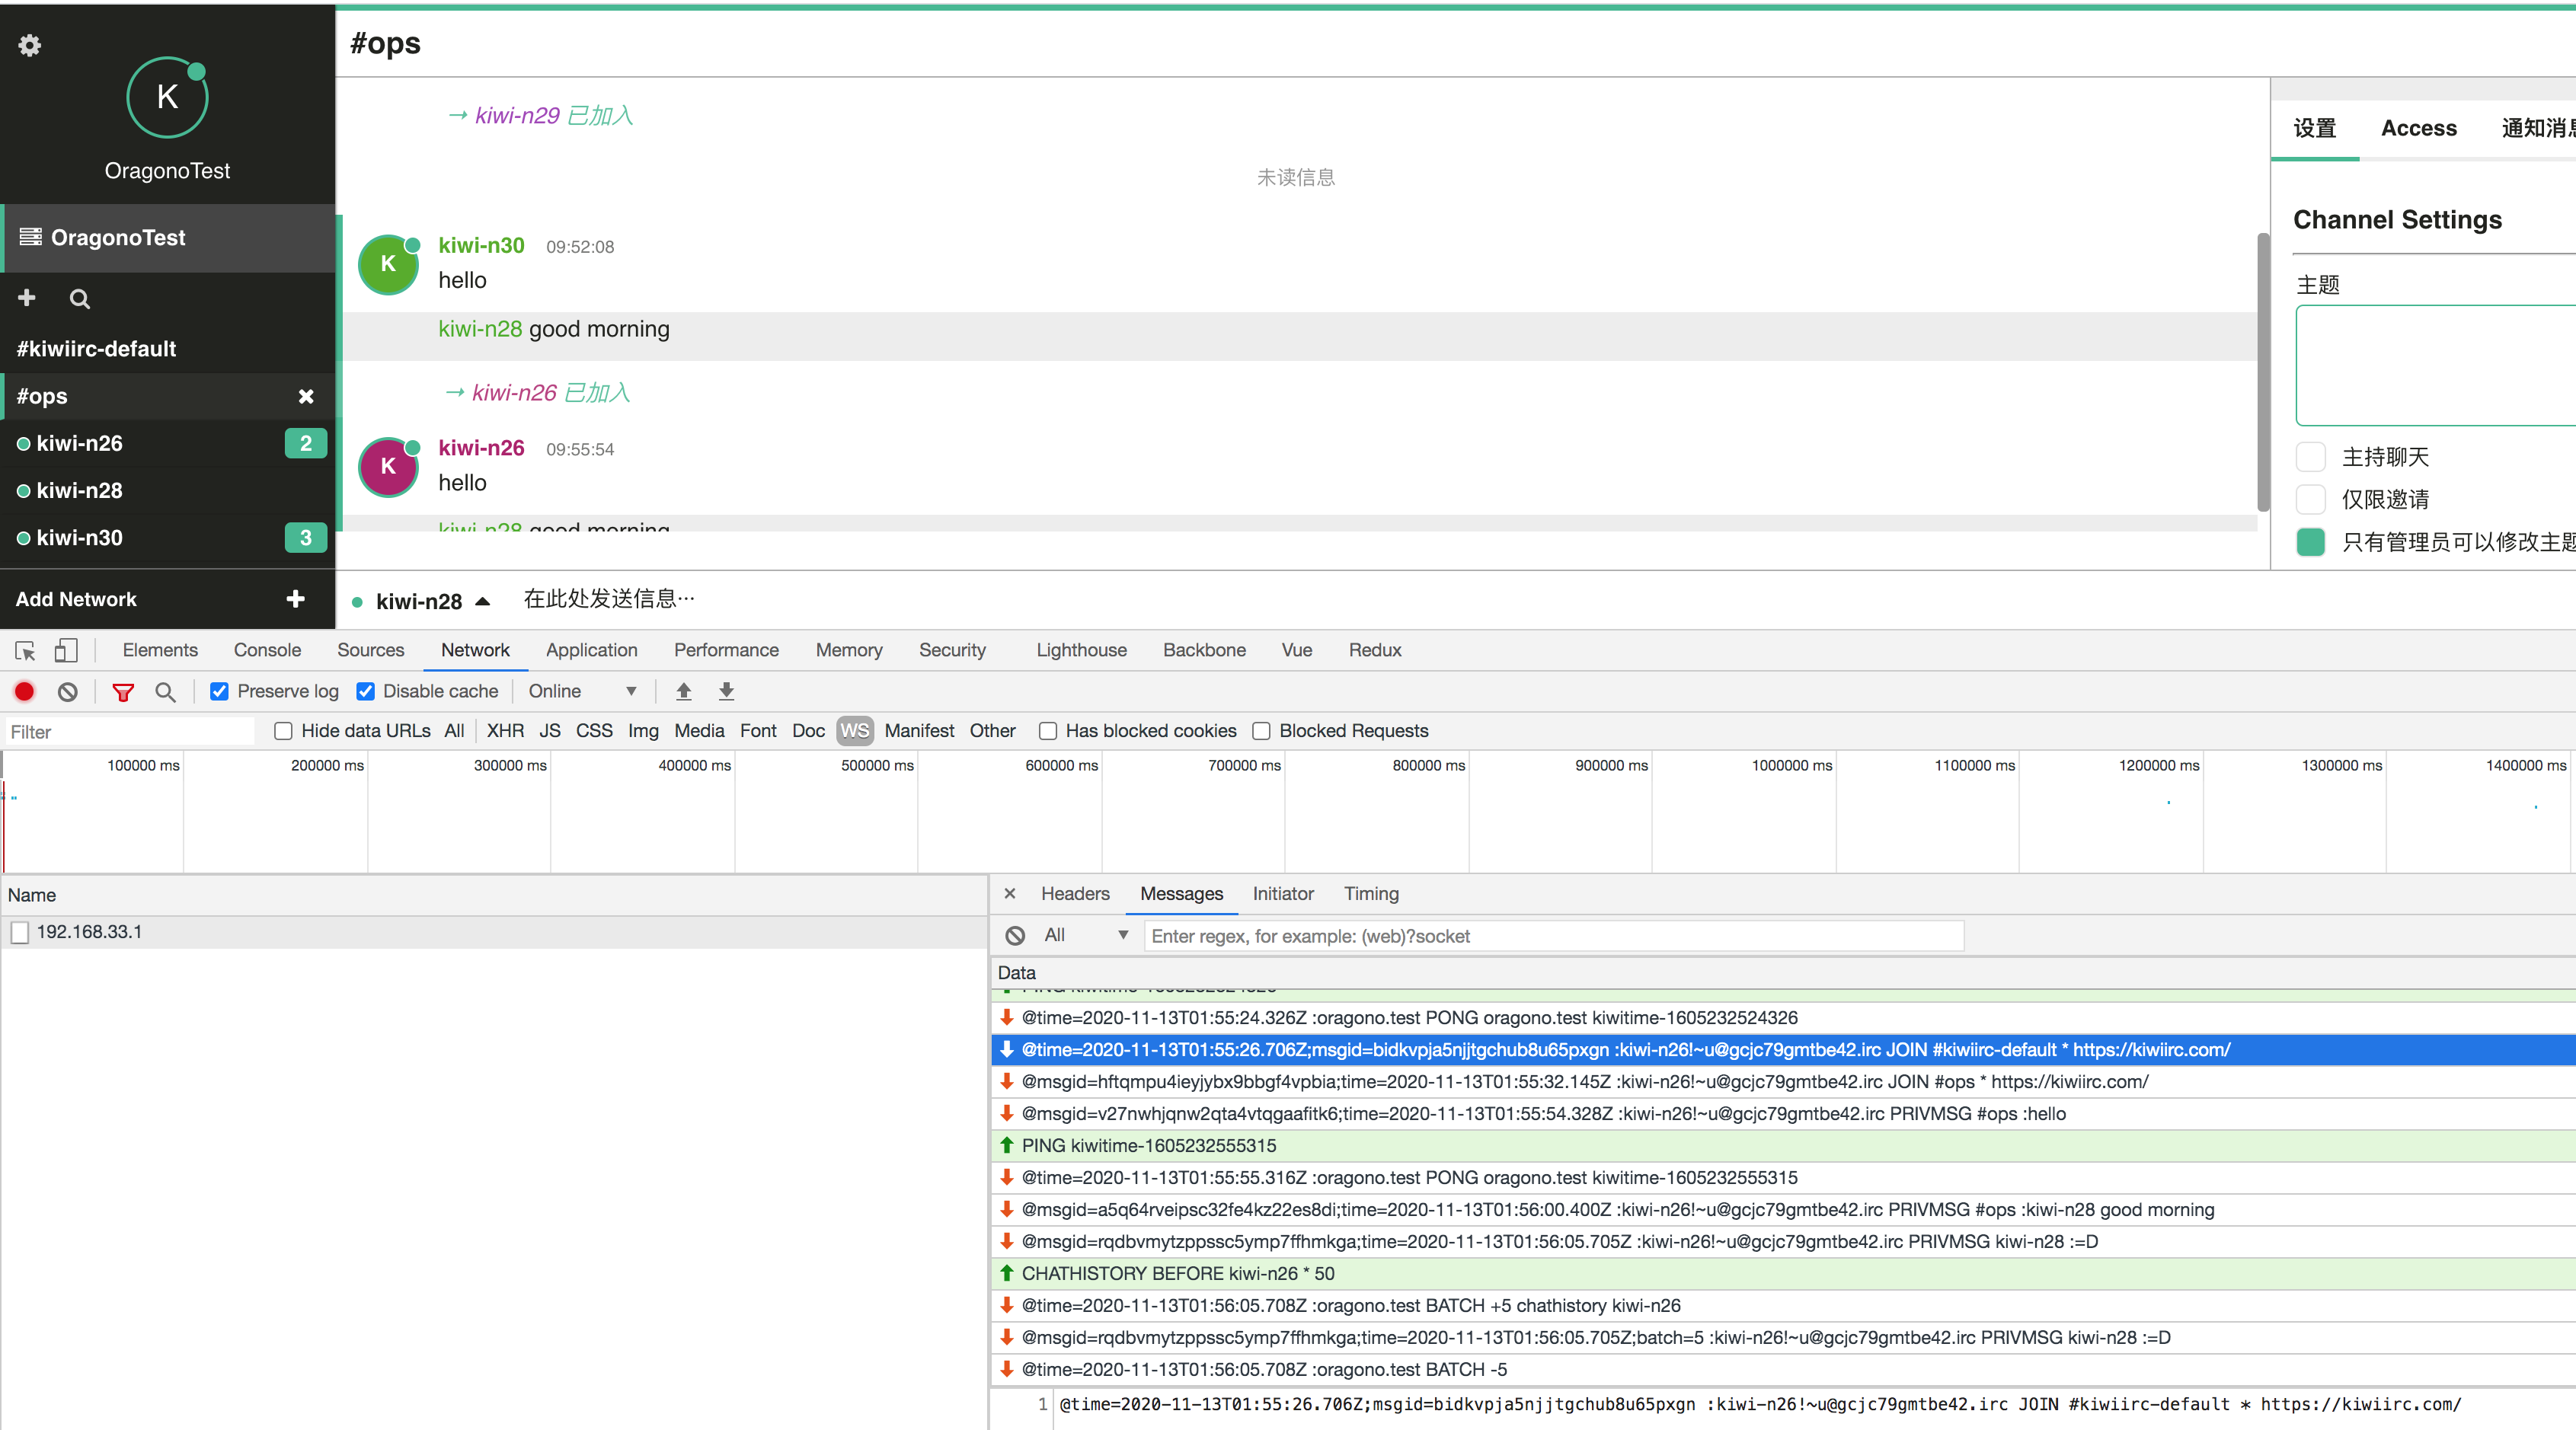
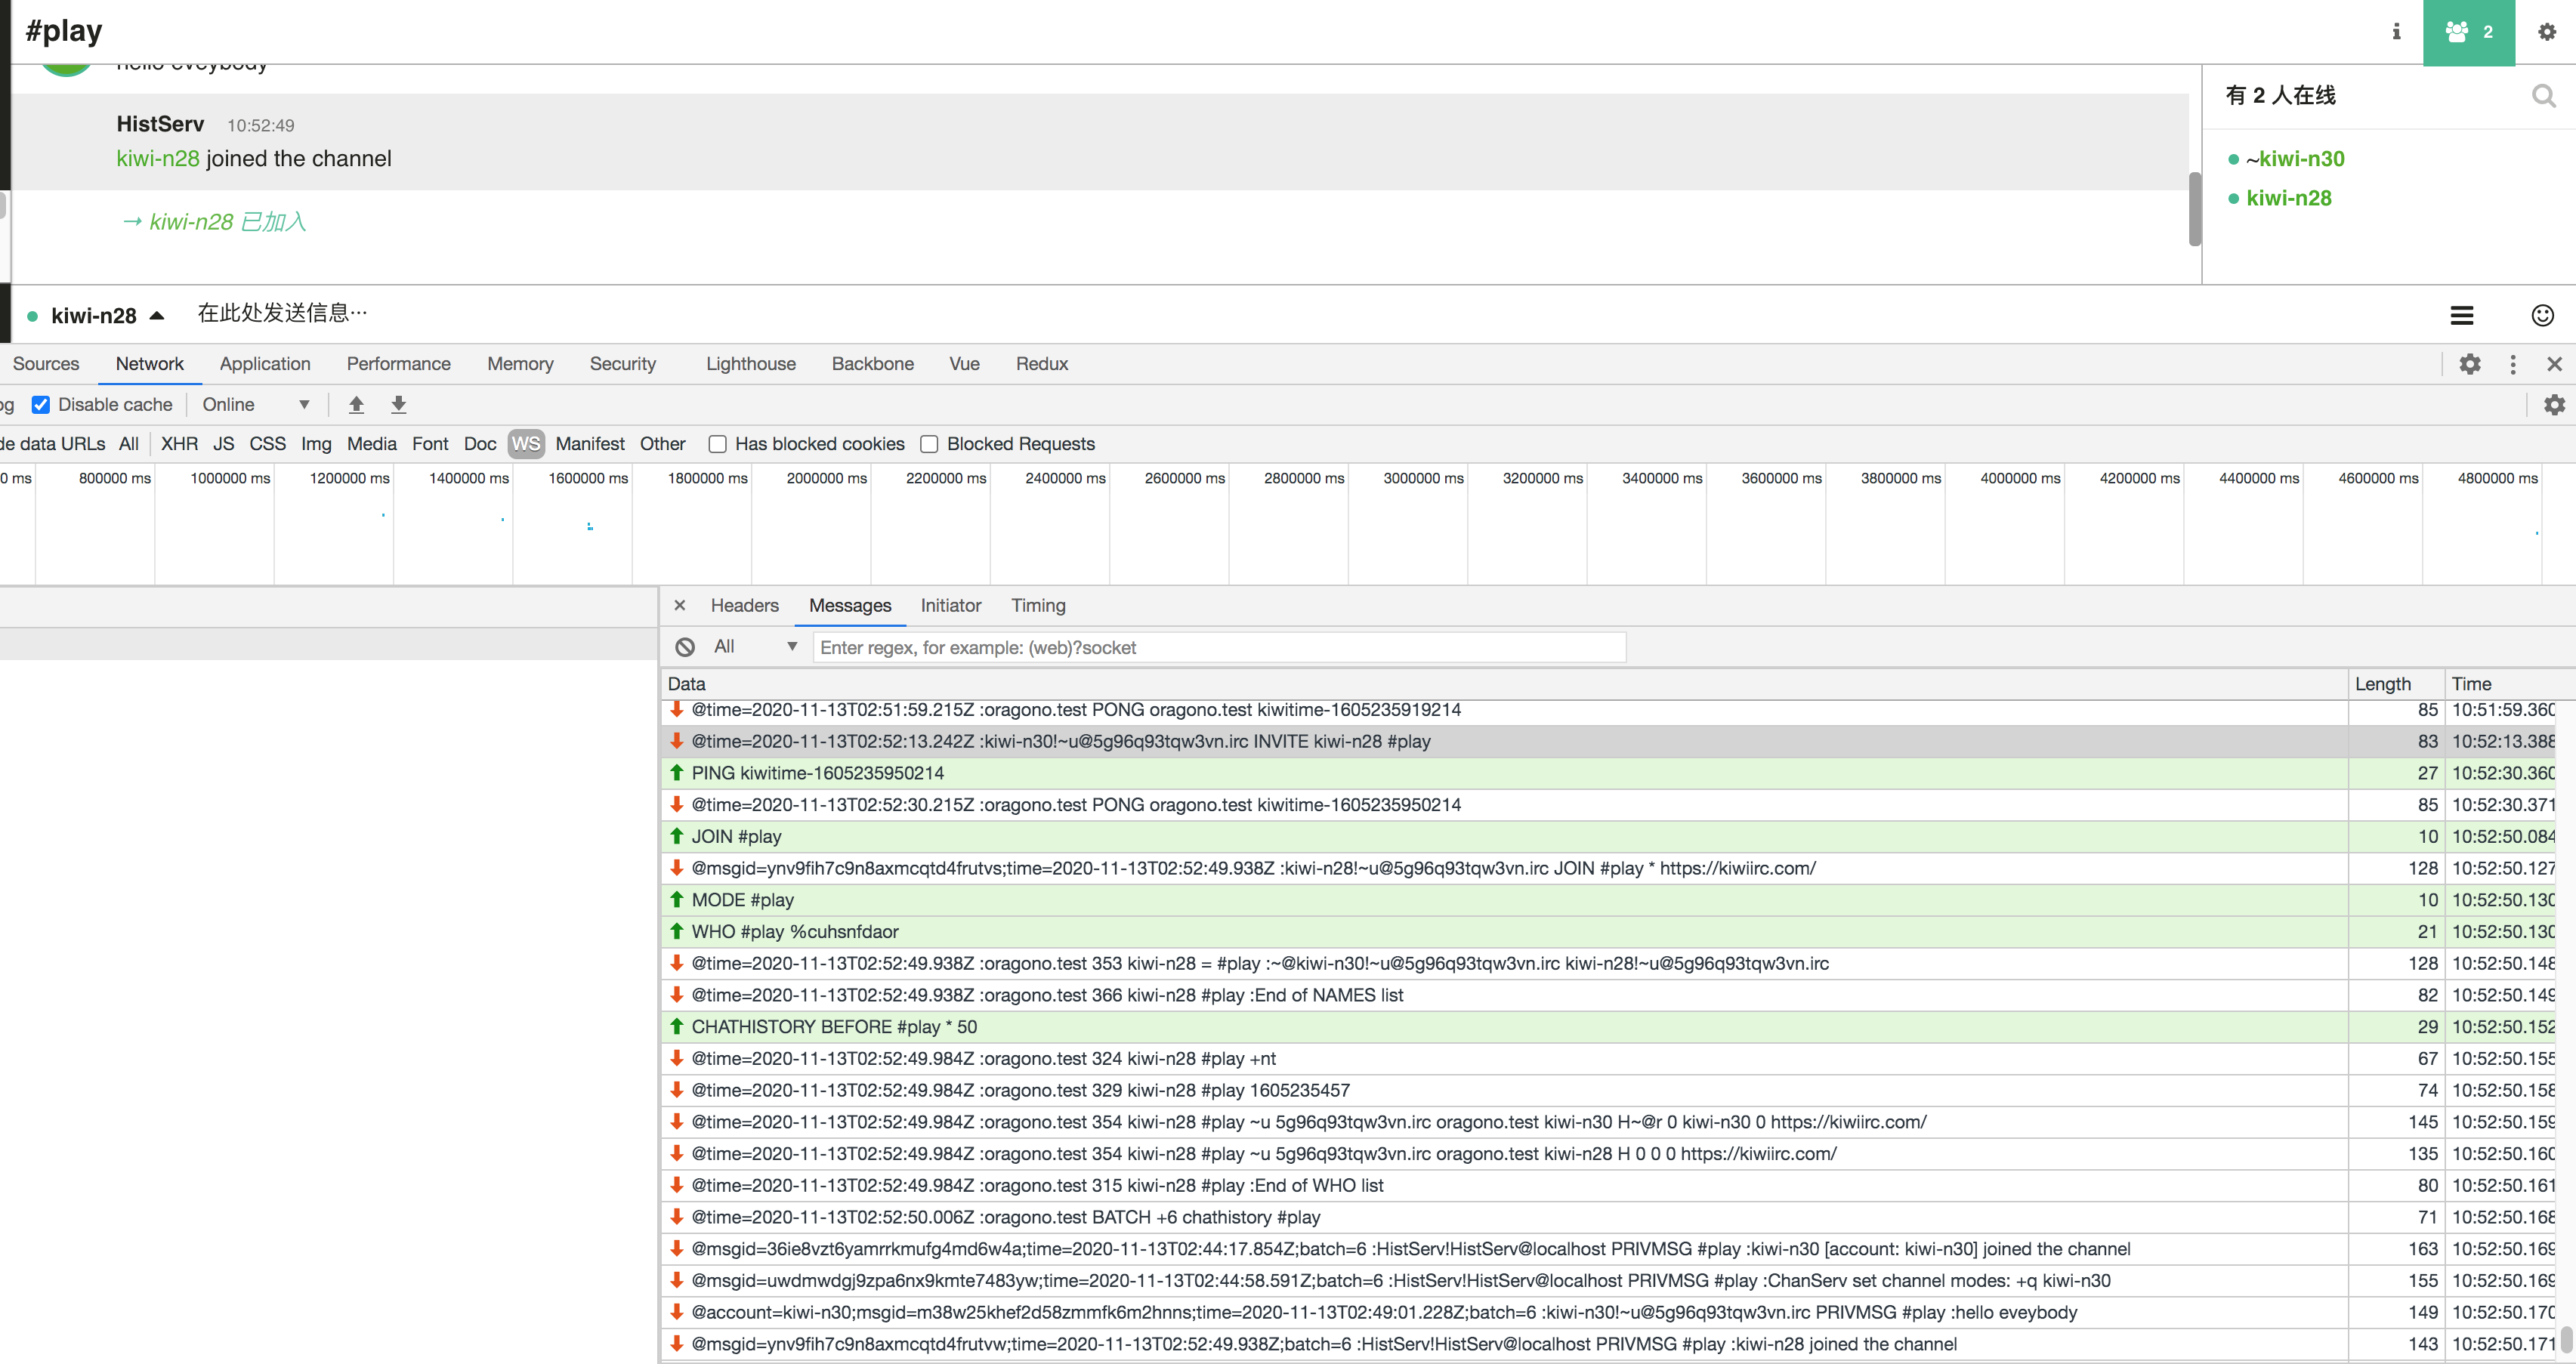
运行登录后的效果
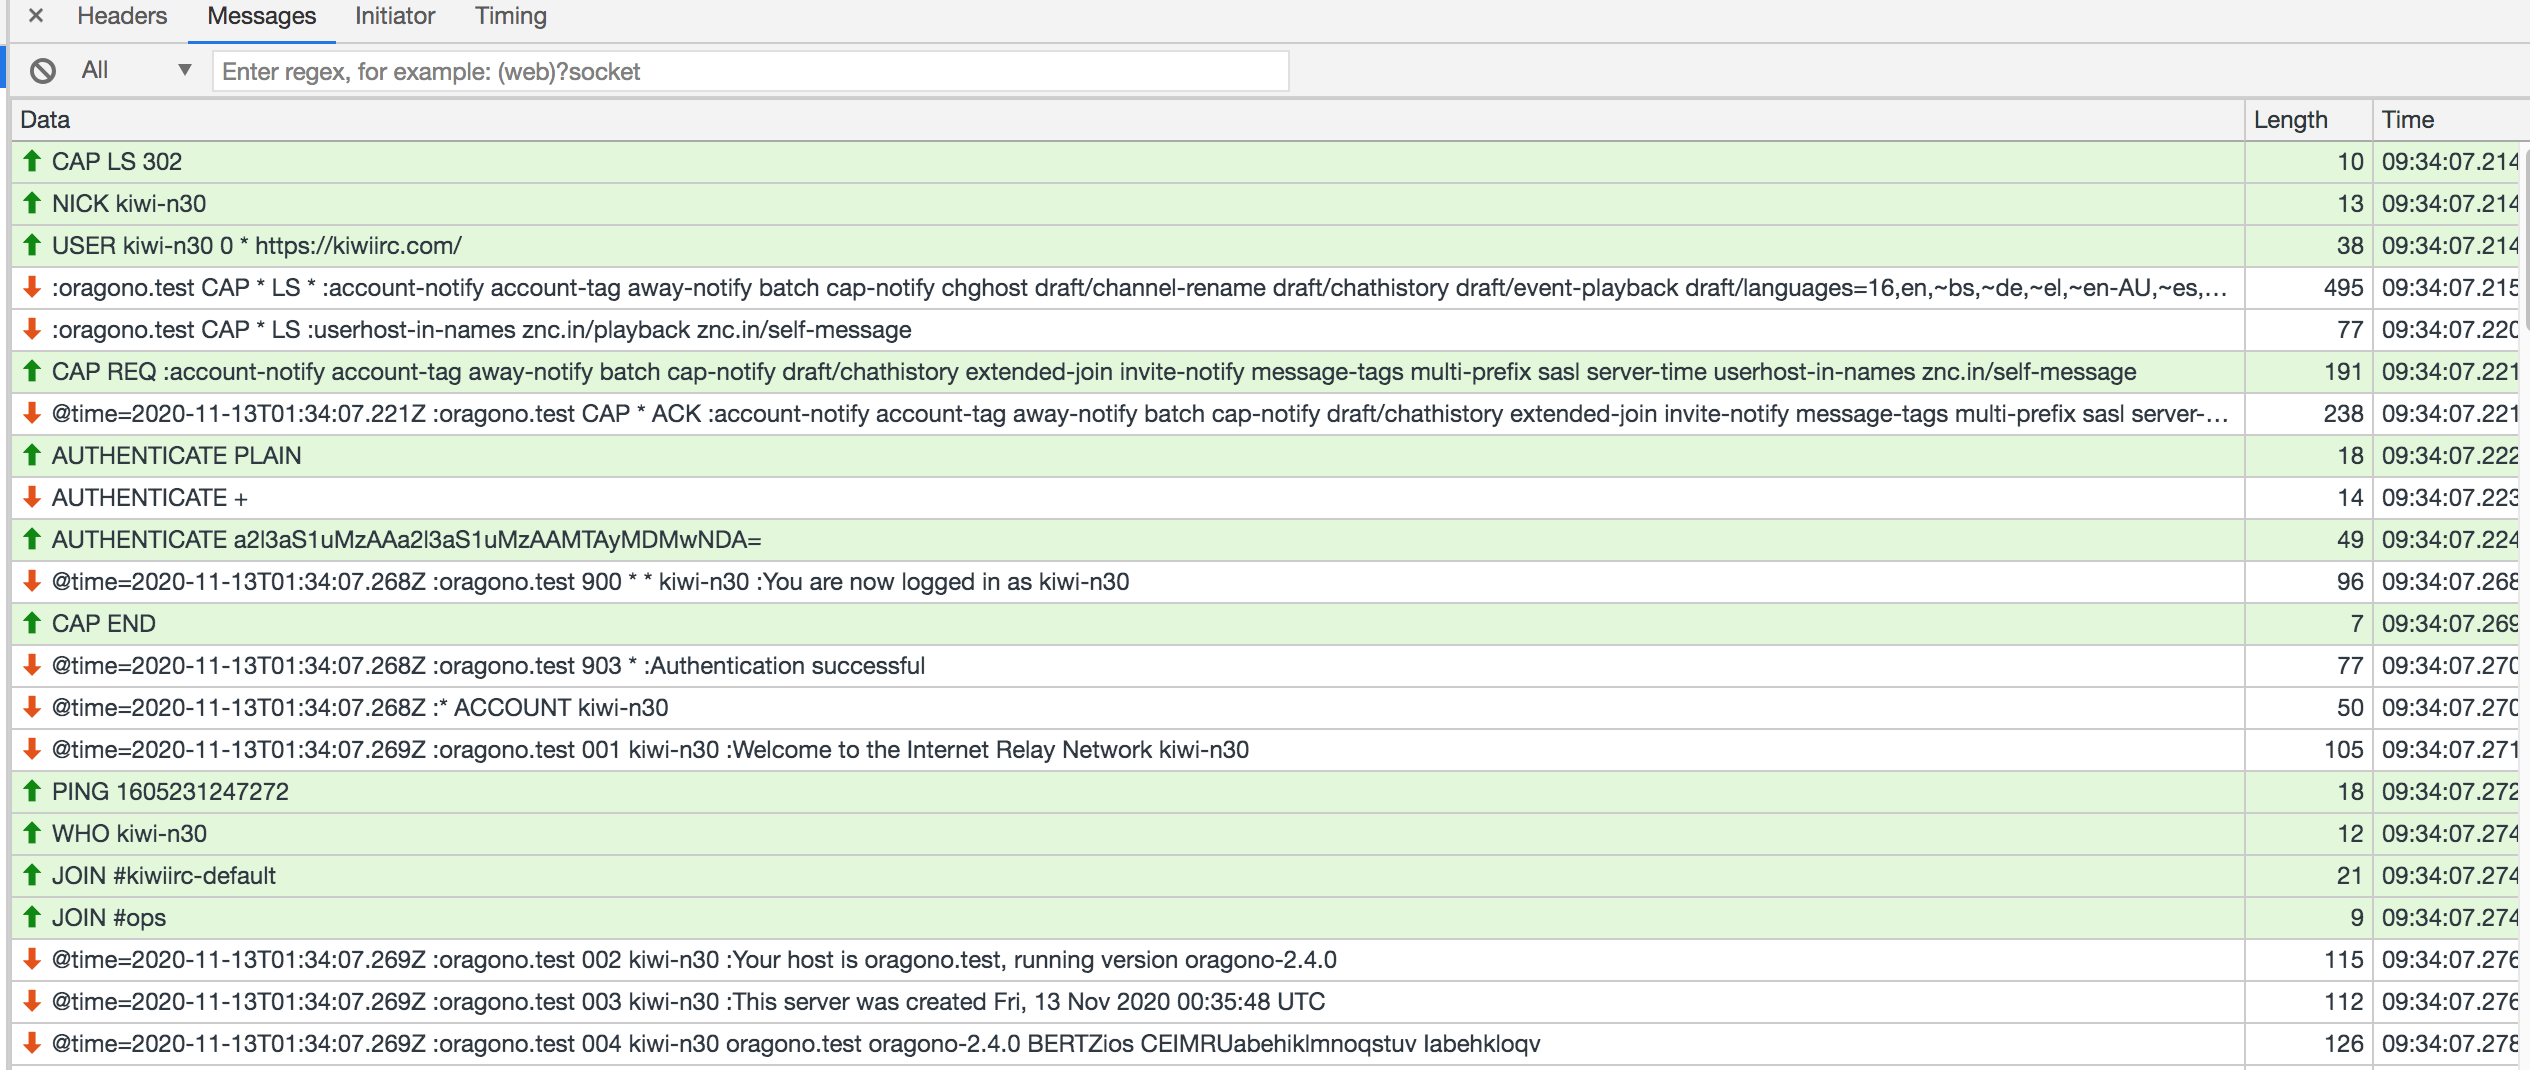
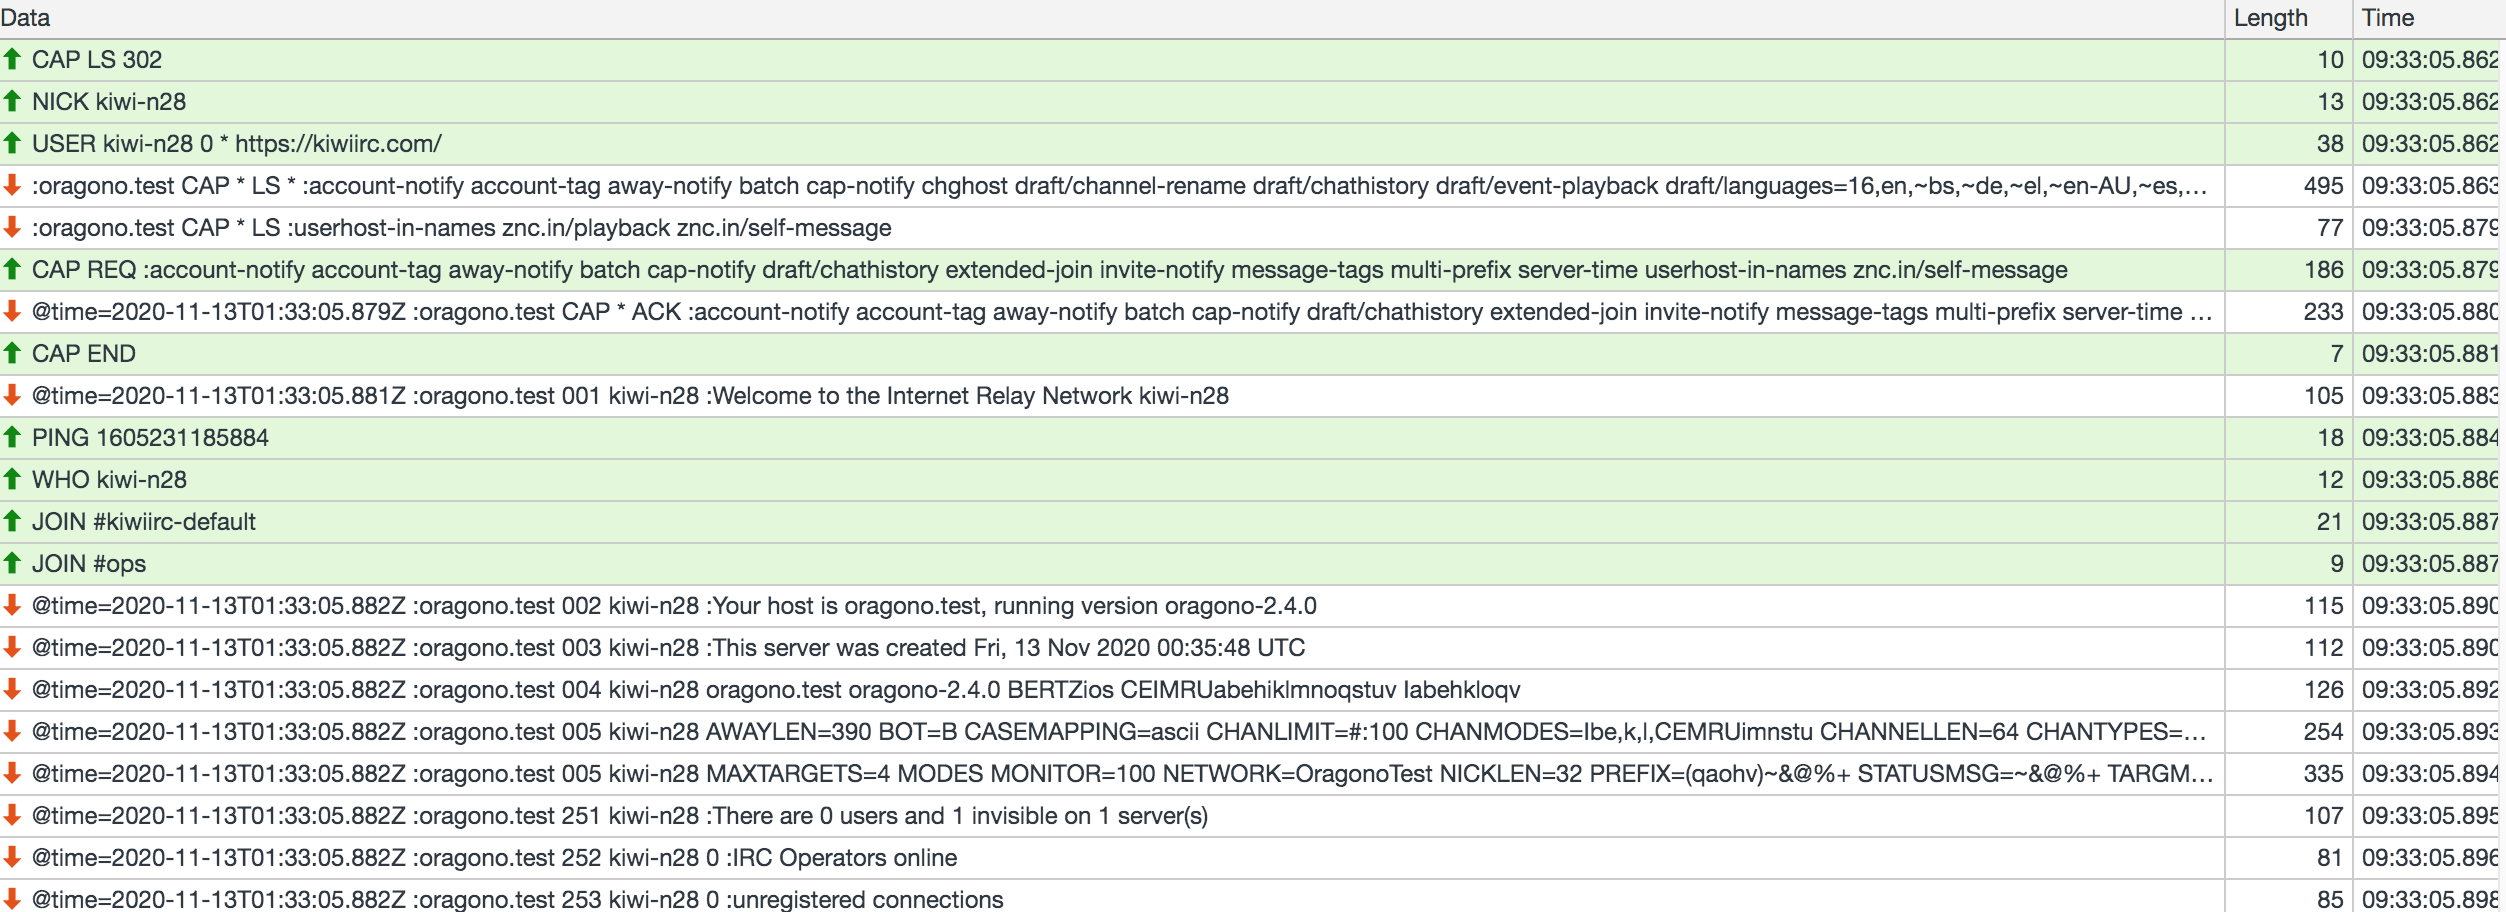
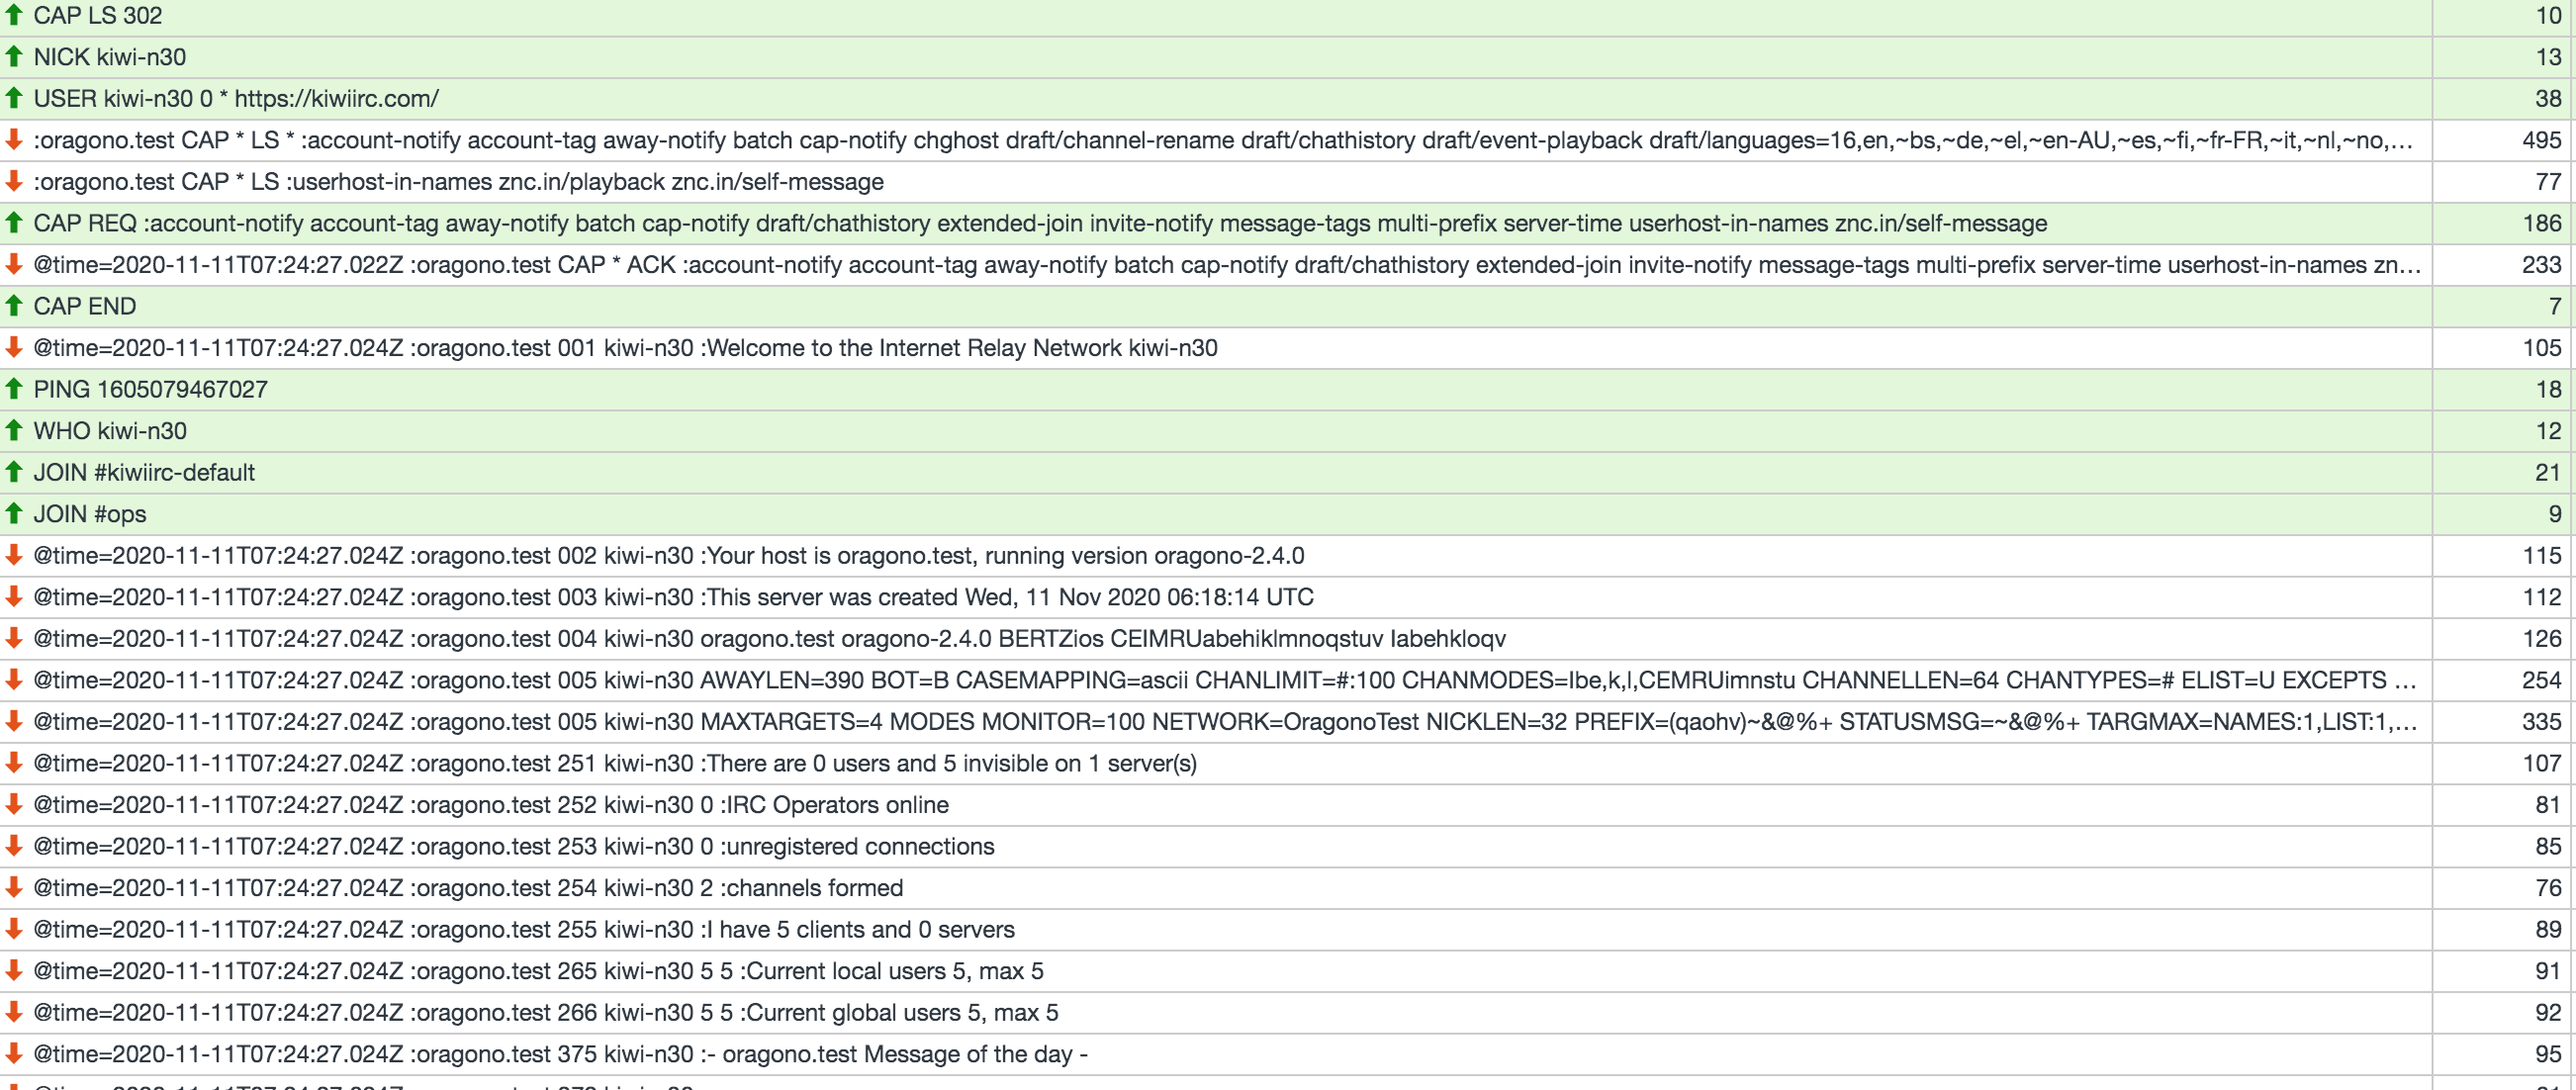
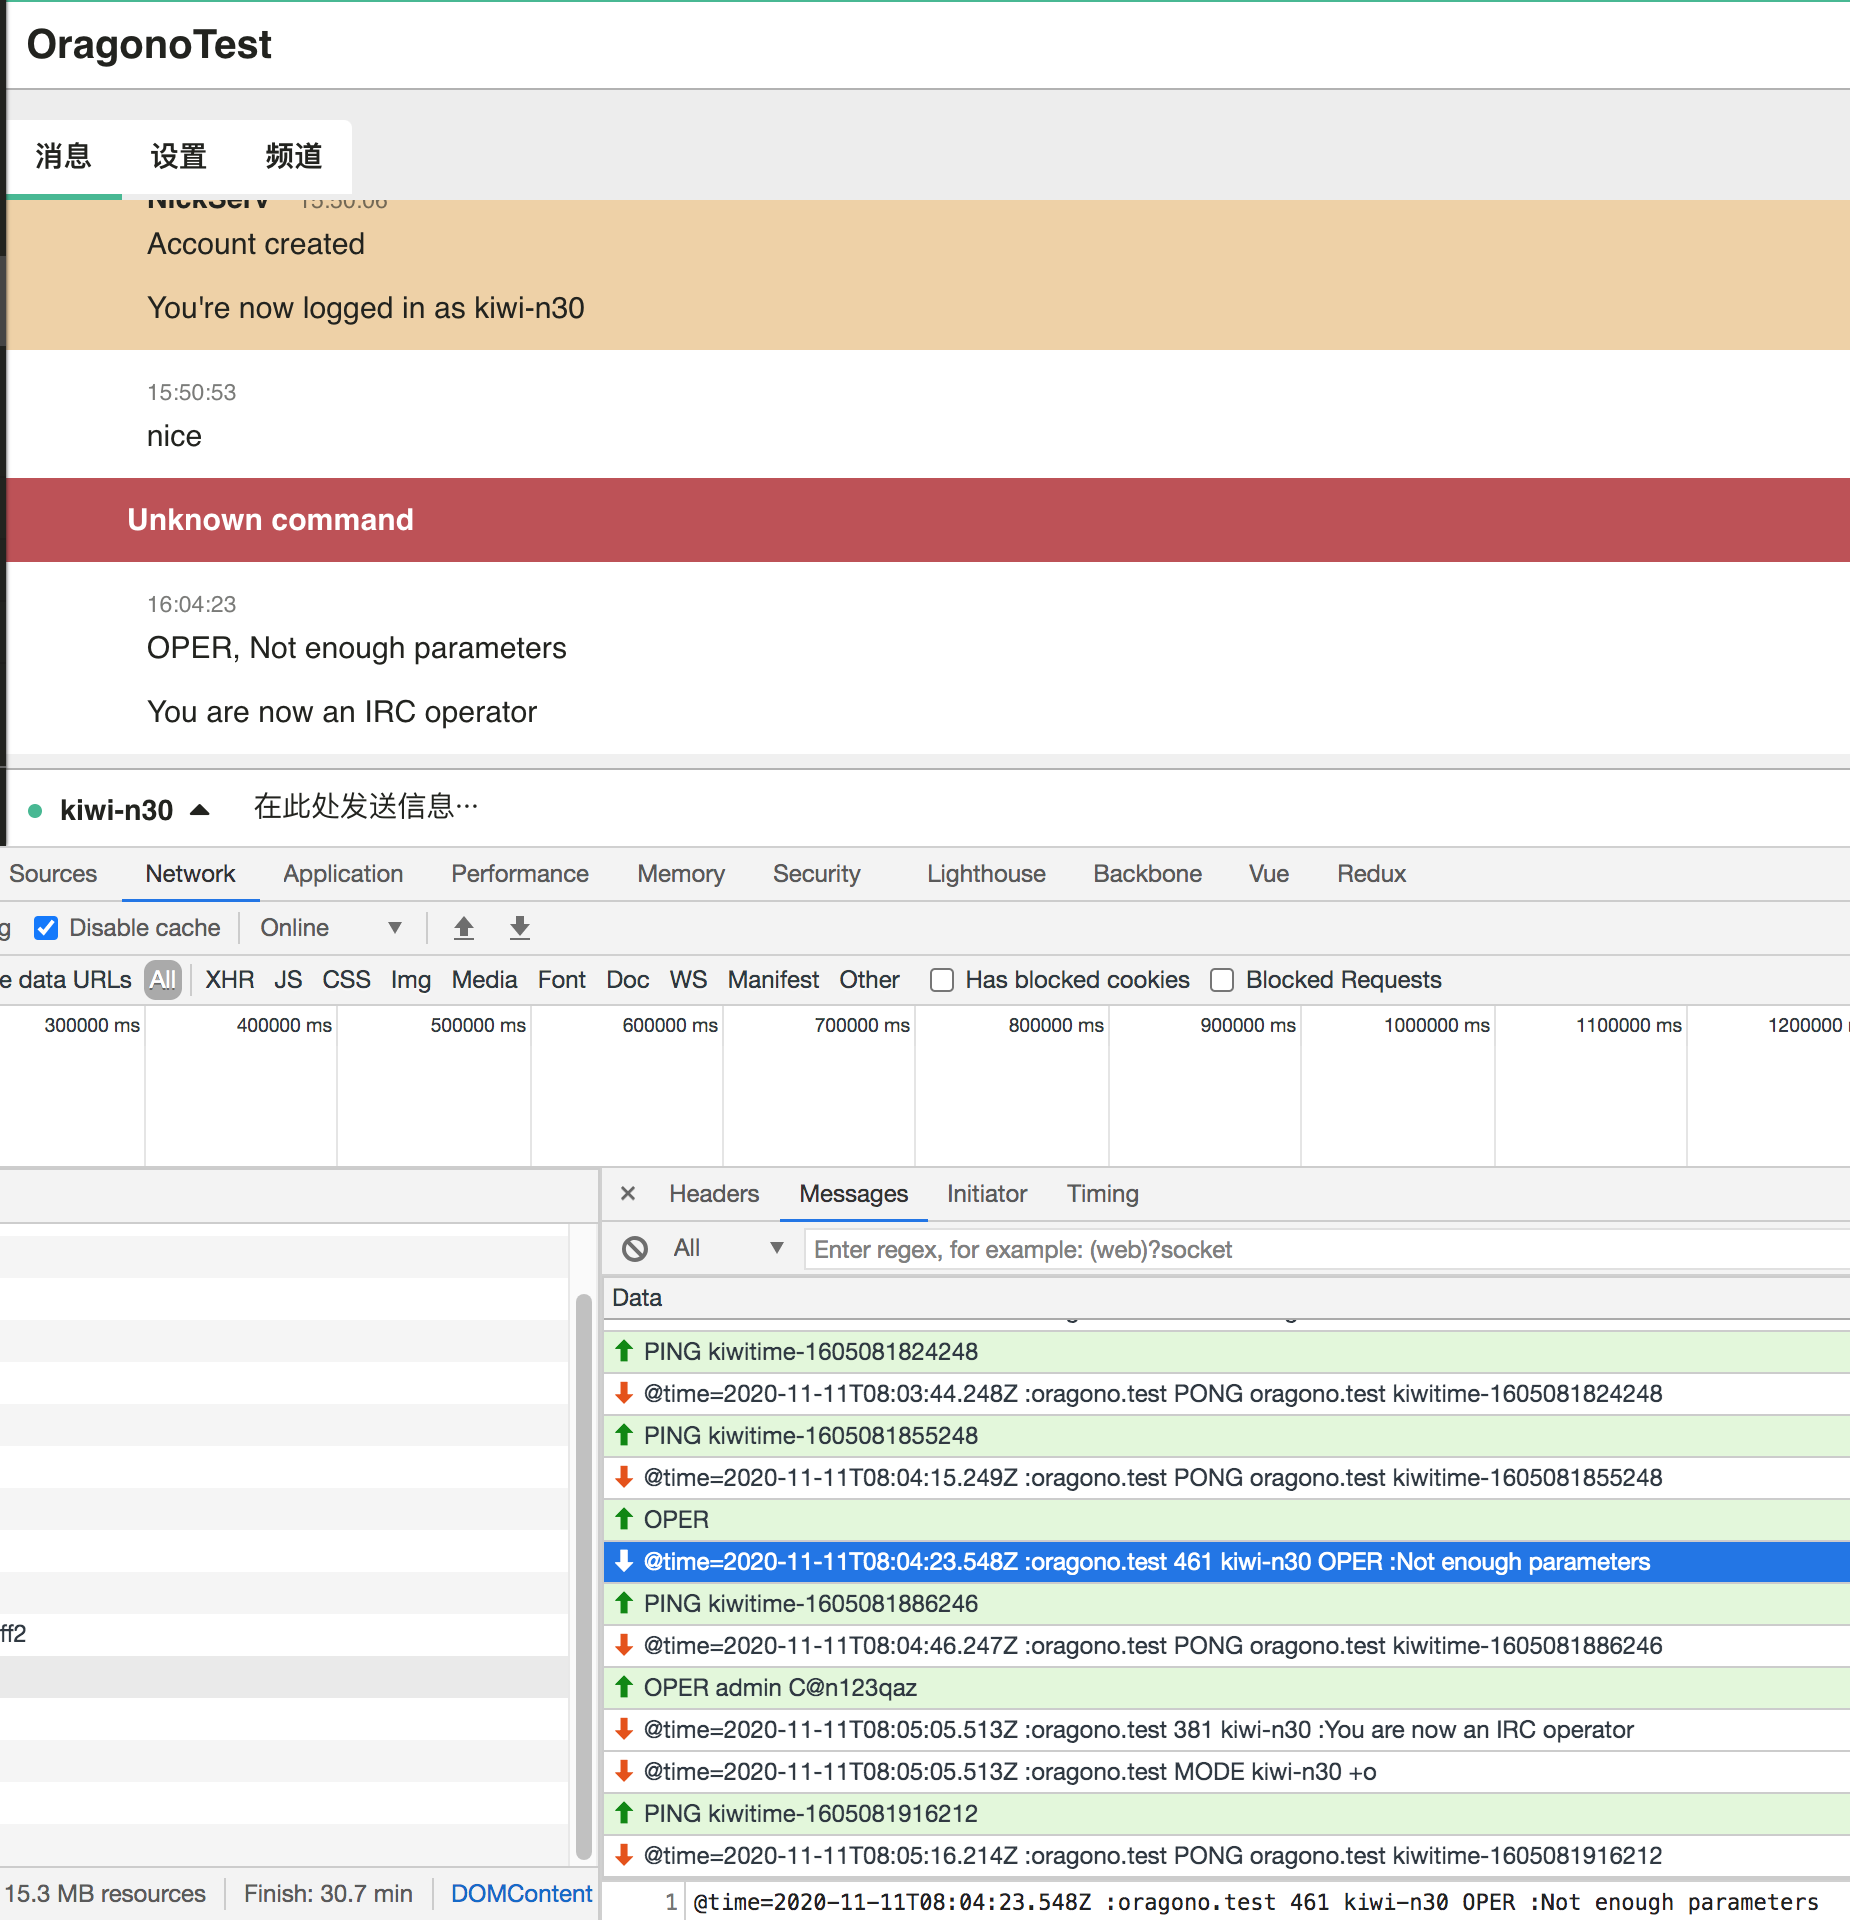
其实IRC是基于TCP连接的文本交互的,也可以使用telnet来模拟
➜  ~ telnet 127.0.0.1 6667
Trying 127.0.0.1...
Connected to localhost.
Escape character is '^]'.
CAP LS 302
:oragono.test CAP * LS * :account-notify account-tag away-notify batch cap-notify chghost draft/channel-rename draft/chathistory draft/event-playback draft/languages=16,en,~bs,~de,~el,~en-AU,~es,~fi,~fr-FR,~it,~nl,~no,~pl,~pt-BR,~ro,~tr-TR,~zh-CN draft/multiline=max-bytes=4096,max-lines=100 draft/register=before-connect draft/relaymsg=/ draft/resume-0.5 echo-message extended-join invite-notify labeled-response message-tags multi-prefix oragono.io/nope sasl=PLAIN,EXTERNAL server-time setname
:oragono.test CAP * LS :userhost-in-names znc.in/playback znc.in/self-message
NICK kiwi-n26
USER kiwi-n26 0 * https://kiwiirc.com/
CAP REQ :account-notify account-tag away-notify batch cap-notify draft/chathistory extended-join invite-notify message-tags multi-prefix server-time userhost-in-names znc.in/self-message
@time=2020-11-13T01:55:02.201Z :oragono.test CAP * ACK :account-notify account-tag away-notify batch cap-notify draft/chathistory extended-join invite-notify message-tags multi-prefix server-time userhost-in-names znc.in/self-message
CAP END
@time=2020-11-13T01:55:07.714Z :oragono.test 001 kiwi-n26 :Welcome to the Internet Relay Network kiwi-n26
@time=2020-11-13T01:55:07.714Z :oragono.test 002 kiwi-n26 :Your host is oragono.test, running version oragono-2.4.0
@time=2020-11-13T01:55:07.714Z :oragono.test 003 kiwi-n26 :This server was created Fri, 13 Nov 2020 00:35:48 UTC
@time=2020-11-13T01:55:07.714Z :oragono.test 004 kiwi-n26 oragono.test oragono-2.4.0 BERTZios CEIMRUabehiklmnoqstuv Iabehkloqv
@time=2020-11-13T01:55:07.714Z :oragono.test 005 kiwi-n26 AWAYLEN=390 BOT=B CASEMAPPING=ascii CHANLIMIT=#:100 CHANMODES=Ibe,k,l,CEMRUimnstu CHANNELLEN=64 CHANTYPES=# ELIST=U EXCEPTS EXTBAN=,m INVEX KICKLEN=390 MAXLIST=beI:60 :are supported by this server
@time=2020-11-13T01:55:07.714Z :oragono.test 005 kiwi-n26 MAXTARGETS=4 MODES MONITOR=100 NETWORK=OragonoTest NICKLEN=32 PREFIX=(qaohv)~&@%+ STATUSMSG=~&@%+ TARGMAX=NAMES:1,LIST:1,KICK:1,WHOIS:1,USERHOST:10,PRIVMSG:4,TAGMSG:4,NOTICE:4,MONITOR:100 TOPICLEN=390 UTF8MAPPING=rfc8265 WHOX draft/CHATHISTORY=100 :are supported by this server
@time=2020-11-13T01:55:07.714Z :oragono.test 251 kiwi-n26 :There are 0 users and 4 invisible on 1 server(s)
@time=2020-11-13T01:55:07.714Z :oragono.test 252 kiwi-n26 0 :IRC Operators online
@time=2020-11-13T01:55:07.714Z :oragono.test 253 kiwi-n26 0 :unregistered connections
@time=2020-11-13T01:55:07.714Z :oragono.test 254 kiwi-n26 2 :channels formed
@time=2020-11-13T01:55:07.714Z :oragono.test 255 kiwi-n26 :I have 4 clients and 0 servers
@time=2020-11-13T01:55:07.714Z :oragono.test 265 kiwi-n26 4 4 :Current local users 4, max 4
@time=2020-11-13T01:55:07.714Z :oragono.test 266 kiwi-n26 4 4 :Current global users 4, max 4
@time=2020-11-13T01:55:07.714Z :oragono.test 375 kiwi-n26 :- oragono.test Message of the day -
@time=2020-11-13T01:55:07.714Z :oragono.test 372 kiwi-n26 :-
@time=2020-11-13T01:55:07.714Z :oragono.test 372 kiwi-n26 :-       ▄▄▄   ▄▄▄·  ▄▄ •        ▐ ▄
@time=2020-11-13T01:55:07.714Z :oragono.test 372 kiwi-n26 :- ▪     ▀▄ █·▐█ ▀█ ▐█ ▀ ▪▪     •█▌▐█▪
@time=2020-11-13T01:55:07.714Z :oragono.test 372 kiwi-n26 :-  ▄█▀▄ ▐▀▀▄ ▄█▀▀█ ▄█ ▀█▄ ▄█▀▄▪▐█▐▐▌ ▄█▀▄
@time=2020-11-13T01:55:07.714Z :oragono.test 372 kiwi-n26 :- ▐█▌.▐▌▐█•█▌▐█ ▪▐▌▐█▄▪▐█▐█▌ ▐▌██▐█▌▐█▌.▐▌
@time=2020-11-13T01:55:07.714Z :oragono.test 372 kiwi-n26 :-  ▀█▄▀▪.▀  ▀ ▀  ▀ ·▀▀▀▀  ▀█▄▀ ▀▀ █▪ ▀█▄▀▪
@time=2020-11-13T01:55:07.714Z :oragono.test 372 kiwi-n26 :-
@time=2020-11-13T01:55:07.714Z :oragono.test 372 kiwi-n26 :- This is the default Oragono MOTD.
@time=2020-11-13T01:55:07.714Z :oragono.test 372 kiwi-n26 :-
@time=2020-11-13T01:55:07.714Z :oragono.test 372 kiwi-n26 :-
@time=2020-11-13T01:55:07.714Z :oragono.test 372 kiwi-n26 :- If motd-formatting is enabled in the config file, you can use the dollarsign character to
@time=2020-11-13T01:55:07.714Z :oragono.test 372 kiwi-n26 :- create special formatting such as bold, italics and color codes.
@time=2020-11-13T01:55:07.714Z :oragono.test 372 kiwi-n26 :-
@time=2020-11-13T01:55:07.714Z :oragono.test 372 kiwi-n26 :- For example, here are a few formatted lines (enable motd-formatting to see these in action):
@time=2020-11-13T01:55:07.714Z :oragono.test 372 kiwi-n26 :-
@time=2020-11-13T01:55:07.714Z :oragono.test 372 kiwi-n26 :- - this is bold text.
@time=2020-11-13T01:55:07.714Z :oragono.test 372 kiwi-n26 :- - this is italics text.
@time=2020-11-13T01:55:07.714Z :oragono.test 372 kiwi-n26 :- - this is 4red and 2blue text.
@time=2020-11-13T01:55:07.714Z :oragono.test 372 kiwi-n26 :- - this is 4,12red text with a light blue background.
@time=2020-11-13T01:55:07.714Z :oragono.test 372 kiwi-n26 :- - this is a normal escaped dollarsign: $
@time=2020-11-13T01:55:07.714Z :oragono.test 372 kiwi-n26 :-
@time=2020-11-13T01:55:07.714Z :oragono.test 372 kiwi-n26 :- And now a few fun colour charts!
@time=2020-11-13T01:55:07.714Z :oragono.test 372 kiwi-n26 :-
@time=2020-11-13T01:55:07.714Z :oragono.test 372 kiwi-n26 :- 1,0 00 0,1 01 0,2 02 0,3 03 1,4 04 0,5 05 0,6 06 1,7 07
@time=2020-11-13T01:55:07.714Z :oragono.test 372 kiwi-n26 :- 1,8 08 1,9 09 0,10 10 1,11 11 0,12 12 1,13 13 1,14 14 1,15 15
@time=2020-11-13T01:55:07.714Z :oragono.test 372 kiwi-n26 :-
@time=2020-11-13T01:55:07.714Z :oragono.test 372 kiwi-n26 :- 0,16 16 0,17 17 0,18 18 0,19 19 0,20 20 0,21 21 0,22 22 0,23 23 0,24 24 0,25 25 0,26 26 0,27 27
@time=2020-11-13T01:55:07.714Z :oragono.test 372 kiwi-n26 :- 0,28 28 0,29 29 0,30 30 0,31 31 0,32 32 0,33 33 0,34 34 0,35 35 0,36 36 0,37 37 0,38 38 0,39 39
@time=2020-11-13T01:55:07.714Z :oragono.test 372 kiwi-n26 :- 0,40 40 0,41 41 0,42 42 0,43 43 0,44 44 0,45 45 0,46 46 0,47 47 0,48 48 0,49 49 0,50 50 0,51 51
@time=2020-11-13T01:55:07.714Z :oragono.test 372 kiwi-n26 :- 0,52 52 0,53 53 1,54 54 1,55 55 1,56 56 1,57 57 1,58 58 0,59 59 0,60 60 0,61 61 0,62 62 0,63 63
@time=2020-11-13T01:55:07.714Z :oragono.test 372 kiwi-n26 :- 0,64 64 1,65 65 1,66 66 1,67 67 1,68 68 1,69 69 1,70 70 1,71 71 0,72 72 0,73 73 0,74 74 0,75 75
@time=2020-11-13T01:55:07.714Z :oragono.test 372 kiwi-n26 :- 1,76 76 1,77 77 1,78 78 1,79 79 1,80 80 1,81 81 1,82 82 1,83 83 1,84 84 1,85 85 1,86 86 1,87 87
@time=2020-11-13T01:55:07.714Z :oragono.test 372 kiwi-n26 :- 0,88 88 0,89 89 0,90 90 0,91 91 0,92 92 0,93 93 0,94 94 0,95 95 1,96 96 1,97 97 1,98 98 99,99 99
@time=2020-11-13T01:55:07.714Z :oragono.test 372 kiwi-n26 :-
@time=2020-11-13T01:55:07.714Z :oragono.test 372 kiwi-n26 :- For more information on using these, see MOTDFORMATTING.md
@time=2020-11-13T01:55:07.714Z :oragono.test 376 kiwi-n26 :End of MOTD command
@time=2020-11-13T01:55:07.715Z :oragono.test 221 kiwi-n26 +Zi
WHO kiwi-n26
@time=2020-11-13T01:55:15.649Z :oragono.test 352 kiwi-n26 * ~u gcjc79gmtbe42.irc oragono.test kiwi-n26 H :0 https://kiwiirc.com/
@time=2020-11-13T01:55:15.649Z :oragono.test 315 kiwi-n26 kiwi-n26!*@* :End of WHO list
JOIN #kiwiirc-default
@msgid=bidkvpja5njjtgchub8u65pxgn;time=2020-11-13T01:55:26.706Z :[email protected] JOIN #kiwiirc-default * https://kiwiirc.com/
@time=2020-11-13T01:55:26.706Z :oragono.test 353 kiwi-n26 = #kiwiirc-default :@[email protected] [email protected] [email protected] [email protected]
@time=2020-11-13T01:55:26.706Z :oragono.test 366 kiwi-n26 #kiwiirc-default :End of NAMES list
JOIN #ops
@msgid=hftqmpu4ieyjybx9bbgf4vpbia;time=2020-11-13T01:55:32.145Z :[email protected] JOIN #ops * https://kiwiirc.com/
@time=2020-11-13T01:55:32.145Z :oragono.test 353 kiwi-n26 = #ops :@[email protected] [email protected] [email protected] [email protected]
@time=2020-11-13T01:55:32.145Z :oragono.test 366 kiwi-n26 #ops :End of NAMES list
PRIVMSG #ops hello
PRIVMSG #ops :kiwi-n28 good morning
PRIVMSG kiwi-n28 =D
PING kiwitime-1605232555315
@time=2020-11-13T01:57:14.150Z :oragono.test PONG oragono.test kiwitime-1605232555315
CHATHISTORY BEFORE kiwi-n28 * 50
@time=2020-11-13T01:57:38.462Z :oragono.test BATCH +1 chathistory kiwi-n28
@msgid=rqdbvmytzppssc5ymp7ffhmkga;time=2020-11-13T01:56:05.705Z;batch=1 :[email protected] PRIVMSG kiwi-n28 :=D
@time=2020-11-13T01:57:38.462Z :oragono.test BATCH -1
@time=2020-11-13T01:59:08.466Z PING kiwi-n26
:[email protected] QUIT :Ping timeout: 2m30s
ERROR :Ping timeout: 2m30s
Connection closed by foreign host.
可以看到这些消息都带有一定的格式,客户端根据特地的格式解析就可以个性化显示来。带有符号@/:前缀的消息都是服务器推送下来的消息,反之都是客户端请求的消息。“CAP LS 302”即协商会话协议版本,随即用命令“NICK
”。Twitch则在消息的基础上加入了其他格式化控制,比如
@badge-info=;badges=premium/1;client-nonce=2f70a1efd6f84523d0f180cc44f76c61;color=#B22222;display-name=Khodeine;emotes=58765:9-19;flags=;id=50d8790f-c474-42a8-b873-2d5e8008bd52;mod=0;room-id=30220059;subscriber=0;tmi-sent-ts=1605279854692;turbo=0;user-id=49980352;user-type= :[email protected] PRIVMSG #esl_sc2 :the scvs NotLikeThis
会显示以一定的颜色/图标显示用户名/消息。空闲状态下IRC服务端与客户端需要维持心跳信息,比如“PING kiwitime-1605232555315”和“time=2020-11-13T01:57:14.150Z :oragono.test PONG oragono.test kiwitime-1605232555315”,否则连接会被关闭。一些常用的命令,可以看出IRC交互非常简单,IRC核心组件也不多。使用“@+dratf/typing=active TAGMSG
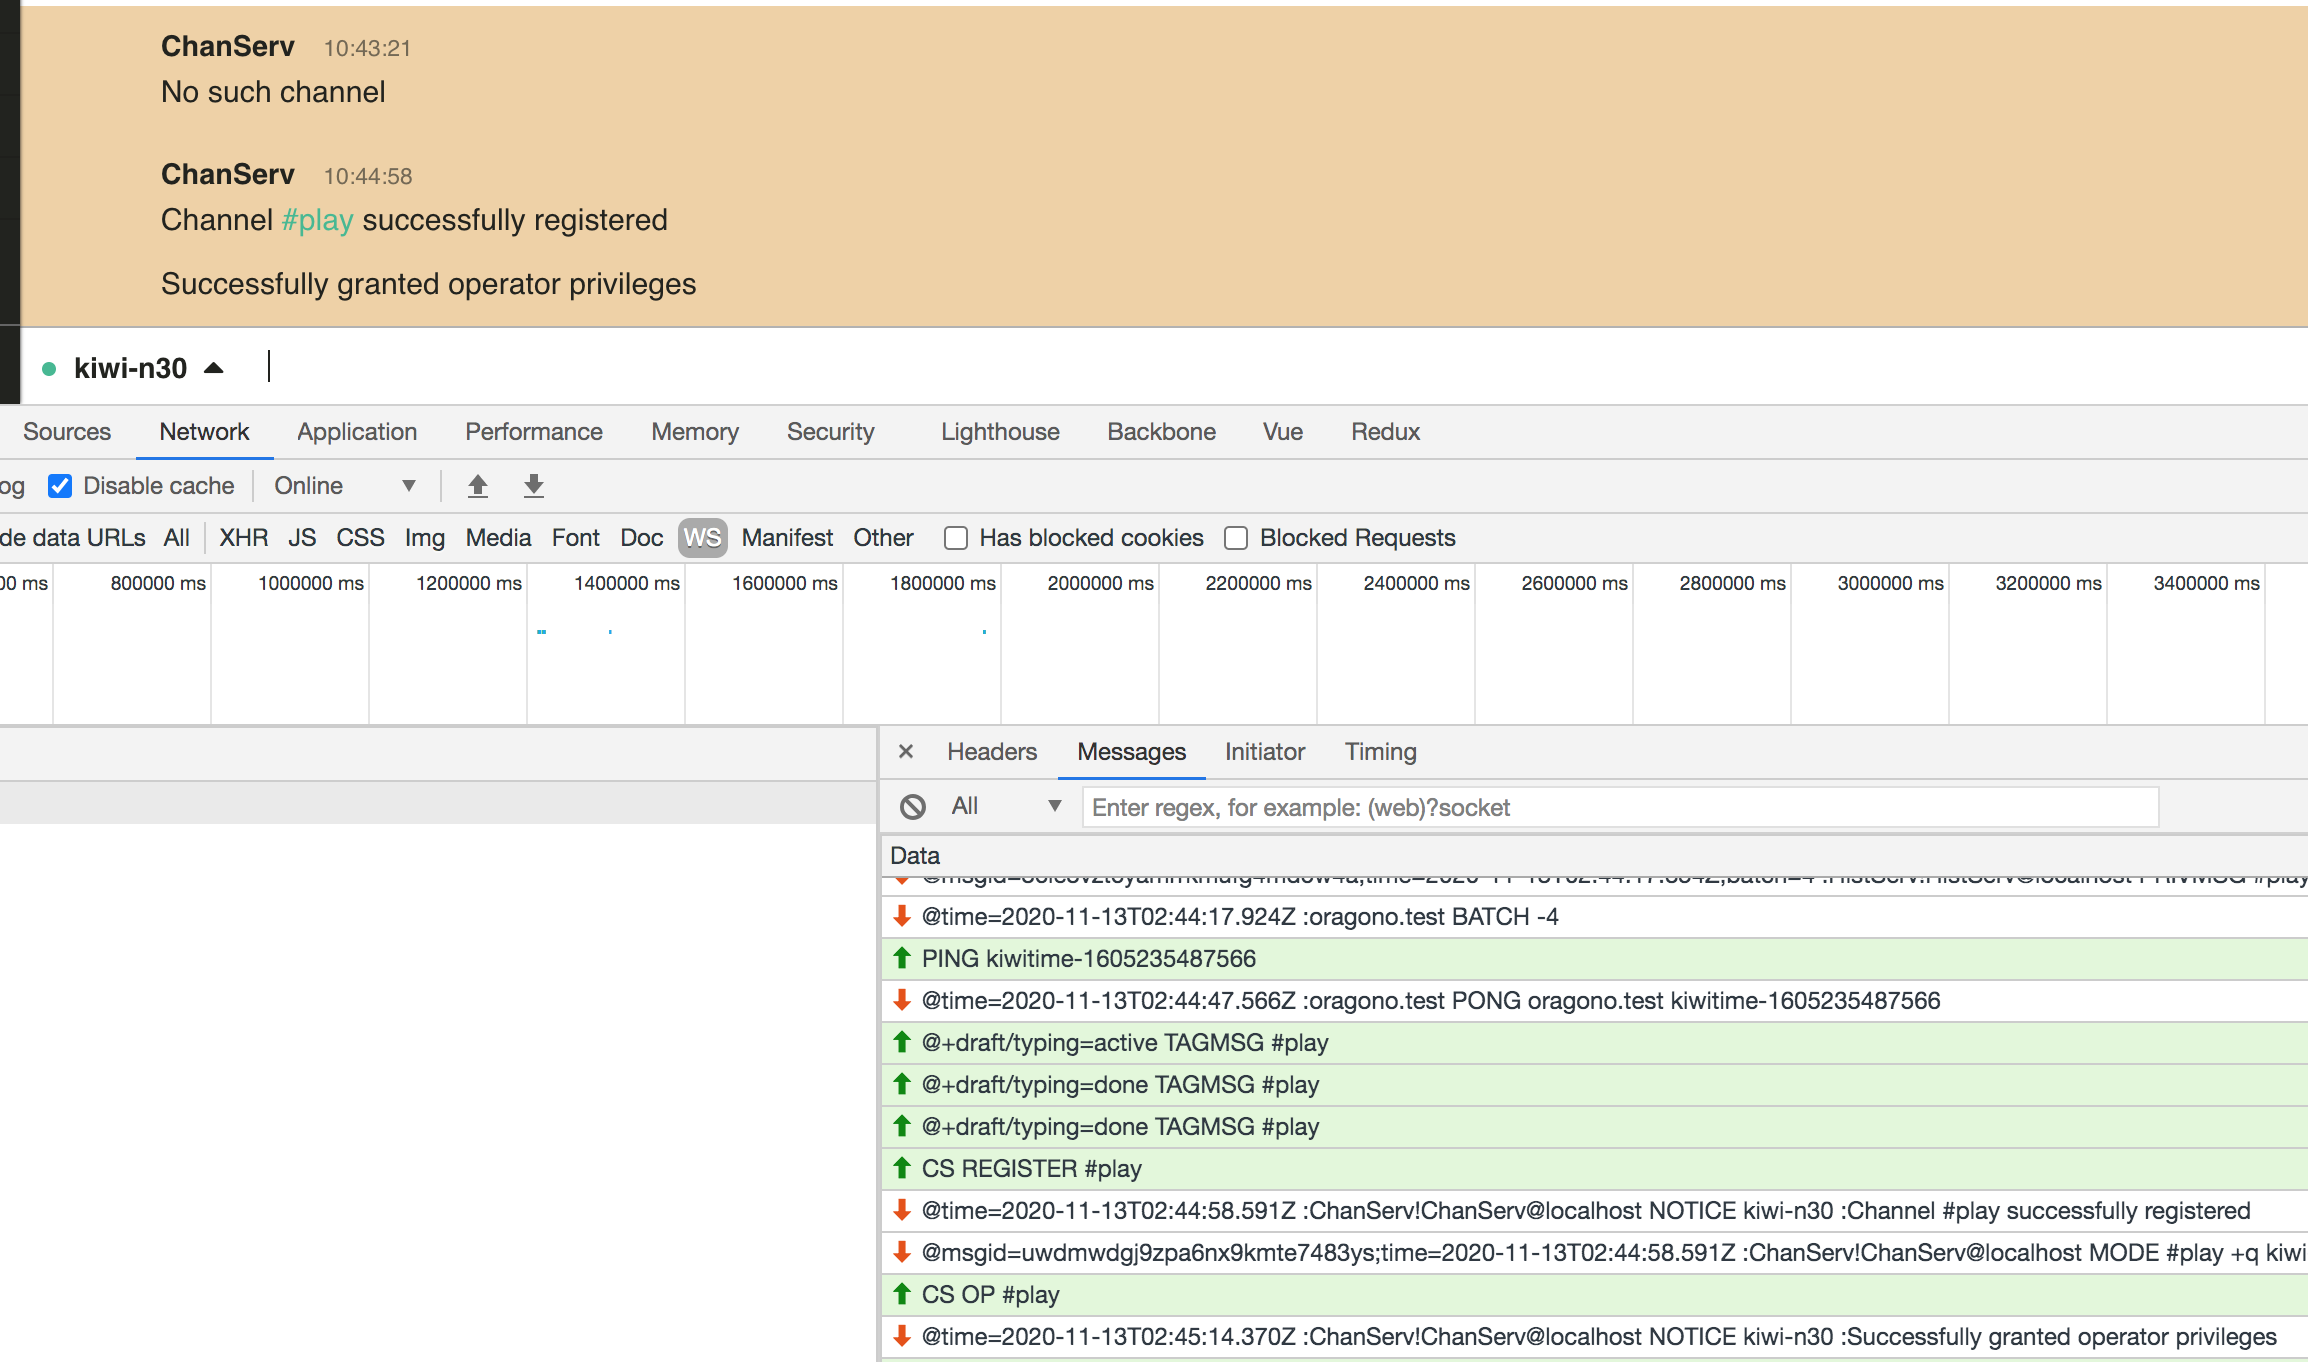
#使用password注册当前nickname
/NS REGISTER <your password>
#注册一个频道
/CS REGISTER #channelname
/CS REGISTER #channe
#要去某人加入频道
/INVITE nickname #channel
#给予某个用户频道管理权限
/mode +o nickname
#认证成为管理员
/OPER admin <admin passowrd>
#在频道发送消息
/PRIVMSG #channe hello
#给频道某人发送消息
/PRIVMSG #channe :<nick> good morning
#给频道某人发送消息
/INVITE <nick> #channe
#使用密码登录
AUTHENTICATE PLAIN
AUTHENTICATE +
AUTHENTICATE a2l3aS1uMzAAa2l3aS1uMzAAMTAyMDMwNDA=
Thelounge是另外一个Vue实现的web的IRC客户端,同样支持websocket。它还用express实现了服务端,支持额外的密码/LDAP登录,即先认证通过才能连接IRC服务器,它本身也可以作为一个服务代理网关,为用户提供永远在线服务/消息存储-如果一个IRC用户不在线是不能够给它发送消息的,这一点也跟XMPP不一样。

Kiwiirc和Thelounge的设计实现良好,可以作为web chat实现的参考,比如在线客服/销售。比较两个web的IRC客户端发现,他们使用的websocket库并不一样。Kiwiirc使用的是sockjs-client,一个类似websocket的JavaScript网络连接库,支持不同浏览器,能够跨域名通信,在浏览器不支持websocket的情况下退化为polling(需要服务端配合)。而Thelounge使用的是socket.io。Socket.IO由Engine.IO发展而来,致力于为web提供实时通信能力。Socket.IO并不是WebSocket的一个实现,只是提供了类似的连接能力,需要服务端配合。两个连接库在浏览器支持websocket的情况下都可以直接与websocket服务端通信(不需要对应的库)。Kiwiirc还提供了irc-framework开发库,可以快速搭建一个IRC客户端,比如IRC Bot。至今仍然存在着许多IRC聊天机器人,为用户提供方便/服务器报警。Twitch一个用户加入频道时甚至能收到广告!
Websocket提供了与其他socket一样的能力,能够持续连接和双向通讯,甚至可以服用80/443端口(nginx支持101协议升级)。它不止可以使用在web上,也可以使用在非web上面,因为能够穿透防火墙,对树莓派的远程链接支持。传统的web应用都是一应一答,这节省的服务器/客户端的资源能够不需要持续请求的话。而对于有些应用而言,比如消息通知,希望是能够持续从服务器推送的,websocket增强了它的能力,在这之前都是long polling(所以才有那些包装库)。
Http协议在tcp基础上实现,请求头里面带有host、cookie,url里面带有路径等,这样后端能够识别、路由、分发请求。而tcp并没有这些,websocket必须自己实现类似的路由分发/调用,可以在连接建立初期,鉴别授权(可以在url上面带参数token/jwt/security key),对于后续消息的应答可以在url上面指定,也可以在事件上面指定。这样实现出来似乎与http差不多,仍然有event对应route,但却可以持续交互。
再观察IRC协议也不过是对各个命令的应答,其实也跟经典web MVC差不多-使用URL映射对应的controller/action。IRC每个会话都是一个队列,join #channel命令即订阅消息,part #channel命令则是取消订阅。再看Rabbitmq消息队列,实现了exchange,route,queue,channel,topic等,然后是持续的消费/推送,与前面所诉差不多,这样子看IRC也是个消息服务器。IRC实现简单,通过扩展支持的命令,也能够与内部/外部系统结合,快速搭建一个即时消息平台。
再看邮件服务,其实也是消息服务,也有一对一/群发消息/历史消息,甚至能够给不认识(不在线)的人发送邮件!而邮件服务至今流行,在许多平台,不论服务器还是手机都自带,不需要额外安装软件。Slack的产品宣传即对比了自己相对邮件服务的优势。其实手机默认带的电话和短信功能是基于硬件模块的在线功能。
相比Ejabberd/Openfire,IRC服务器的部署简单许多,甚至可以部署在树莓派上!
参考连接:
IRC Bot
基于 RabbitMQ 的实时消息推送